Modularity
The Talemate nodegraph system supports a powerful modularity concept that enables you to create reusable, composable building blocks for your game logic. This modularity comes in two forms: Nodes and Node Modules.
Understanding the Difference
Nodes
Nodes are the fundamental building blocks of the nodegraph system. They are Python classes that:
- Inherit from base node types (
Node,Graph, etc.) - Are registered in the node registry using the
@registerdecorator - Define specific inputs, outputs, and processing logic
- Execute a single, well-defined operation
Example of a basic node:
@register("myCategory/MyNode")
class MyNode(Node):
    def __init__(self, title="My Node", **kwargs):
        super().__init__(title=title, **kwargs)

    def setup(self):
        self.add_input("input", socket_type="str")
        self.add_output("output", socket_type="str")

    async def run(self, state: GraphState):
        value = self.get_input_value("input")
        # Process value...
        self.set_output_values({"output": processed_value})
Node Modules
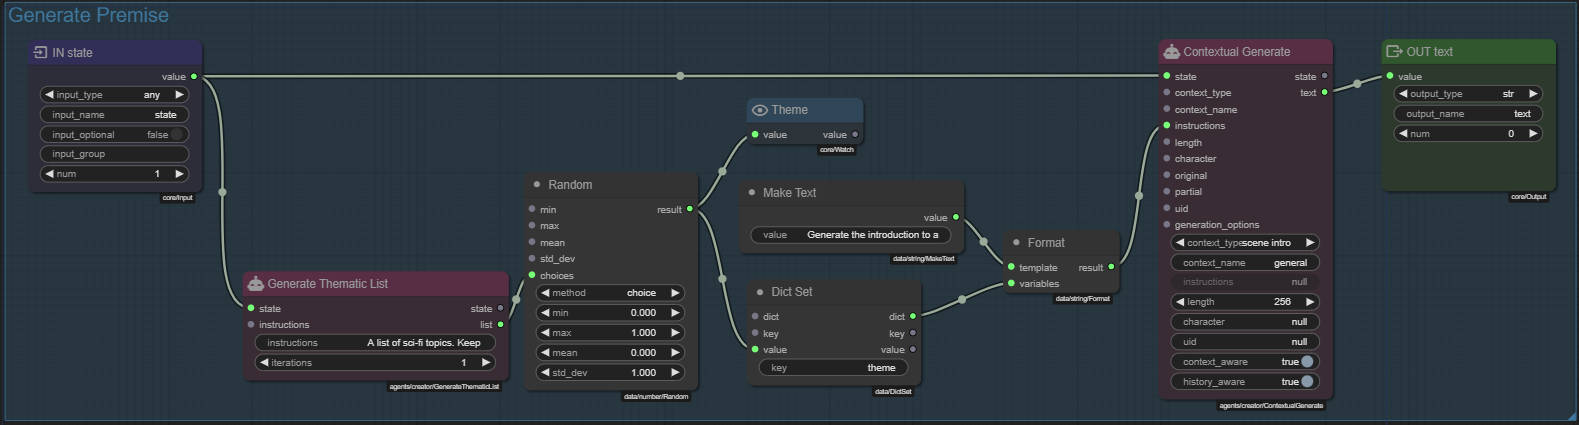
Node modules are graphs of interconnected nodes that are registered as nodes themselves. Importantly, you don't need to write Python code to create node modules. They are created entirely through the visual node editor.
Node modules:
- Are built by visually connecting existing nodes
- Are saved with a registry path to make them reusable
- Appear in the node selector like any other node
- Can contain other modules, creating nested functionality
Node modules can contain:
- Multiple interconnected nodes
- Input and Output socket nodes that define the module's interface
- Module properties for configuration
- Module style to configure how they appear as a node
- Internal logic of any complexity
Node modules are baed on a core type:
Module(Basic graph)Command- allows to register a node as a talemate commandEvent- allows to register a node as a listener for an eventFunction- special node module that can be invoked as a function by other nodesScene Loop- the core loop of a scene, each scene has one
How Modularity Works
The nodegraph system enables recursive modularity:
- Base nodes are provided by Talemate (written in Python)
- These nodes can be combined into modules using the visual editor
- Saved modules become available as nodes in the node selector
- Modules can be used to build more complex modules
- This process can continue indefinitely
This recursive capability means you can build increasingly sophisticated functionality by layering modules, all without writing code.
Module Load Order
When Talemate loads node modules, it follows a specific priority order to ensure that your customizations always take precedence. Understanding this load order is important when you have modules with the same registry path in different locations.
Load Priority (Highest to Lowest)
1. Scene-specific modules
- Modules saved within your current scene's node directory
- These always have the highest priority
- Perfect for scene-specific customizations
- Override any modules with the same registry path from other sources
2. Public template modules
- Modules imported from the public templates directory
- Located in
templates/modules/ - Shared across all scenes
- Override built-in Talemate modules but are overridden by scene modules
3. Built-in Talemate modules
- Modules that ship with Talemate
- Located in the Talemate source directories
- Provide core functionality
- Can be overridden by both template and scene modules
Practical Implications
This load order means:
- You can safely customize any built-in module by creating your own version with the same registry path
- Scene-specific modifications won't affect other scenes
- You can create a library of shared modules in the templates directory
- Your customizations are preserved when updating Talemate
For example, if you have a module registered as utils/TextProcessor:
- A version in your scene's node directory will be used first
- If not found there, Talemate looks in
templates/modules/ - Finally, it falls back to any built-in version
This behavior ensures maximum flexibility while maintaining a clear hierarchy of customization.
Promoting Scene Modules to Shared Modules
When you've built a useful module within a scene, you can promote it to a shared module so it becomes available across all your scenes. This is done directly from the module library in the node editor.
How to Promote
- In the module library panel, find the scene module you want to share
- Click the promote icon () next to the module name
- A dialog will appear with the following options:
| Field | Description |
|---|---|
| Project / Folder | The subfolder name under templates/modules/. You can select an existing project or type a new name. |
| Registry | The node registry path. Pre-filled with the current path — you can change it if needed. |
| Filename | The filename for the shared module file. |
| Mode | Copy keeps the module in both the scene and shared locations. Move removes it from the scene and places it only in the shared location. |
- Click Promote to complete the action
Copy vs. Move
- Copy mode: The module remains in your scene and is added to the shared modules directory. In the original scene, the scene version still takes priority (per the load order above). Other scenes will pick up the shared version.
- Move mode: The module is removed from the scene and only exists as a shared module. The editor will automatically reload the newly promoted shared version. All scenes, including the original one, will now use the shared version.
When to Use This
- You've created a utility module in one scene and want to reuse it in others
- You want to build a personal library of reusable modules organized by project
- You want to share a customized version of a built-in module across all scenes