Visual Library
The Visual Library is a comprehensive system for managing generated images and scene assets in Talemate. It provides tools for generating, editing, iterating, analyzing, and organizing visual content for your scenes and characters.
The Visual Library can be accessed by clicking the image icon in the toolbar when a scene is active. A badge indicator appears on the icon when new images are available in the queue.
Overview
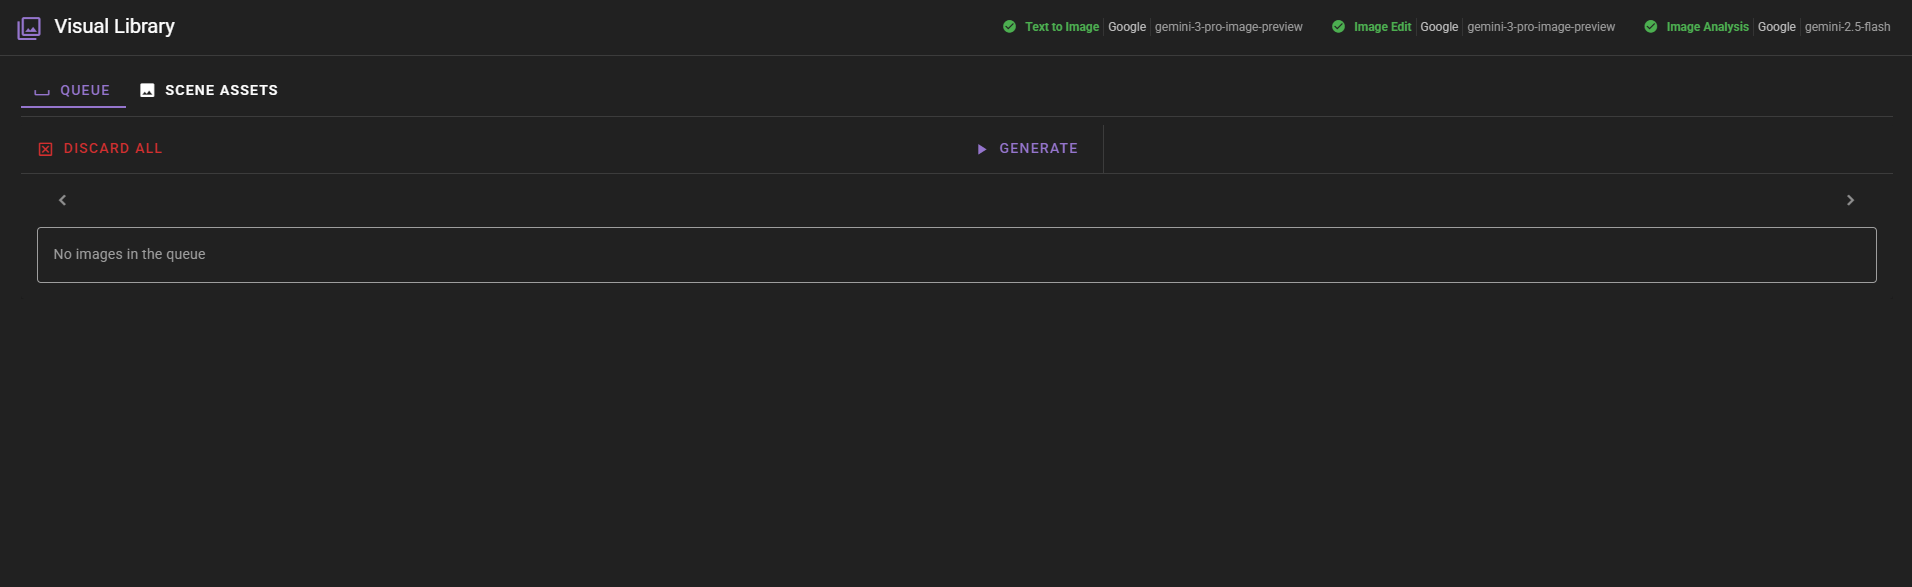
The Visual Library consists of two main sections:
- Queue: A temporary workspace for newly generated images before they're saved to your scene
- Scene Assets: A permanent library of saved images organized by visual type and character
The interface displays status indicators at the top showing which backend capabilities are available: - Text to Image: Generate new images from text prompts - Image Edit: Modify existing images using reference images - Image Analysis: Analyze images using AI to extract information
Generating Images
Prompt Mode
The most straightforward way to generate images is using the Prompt mode, where you provide a direct text description of what you want to create.
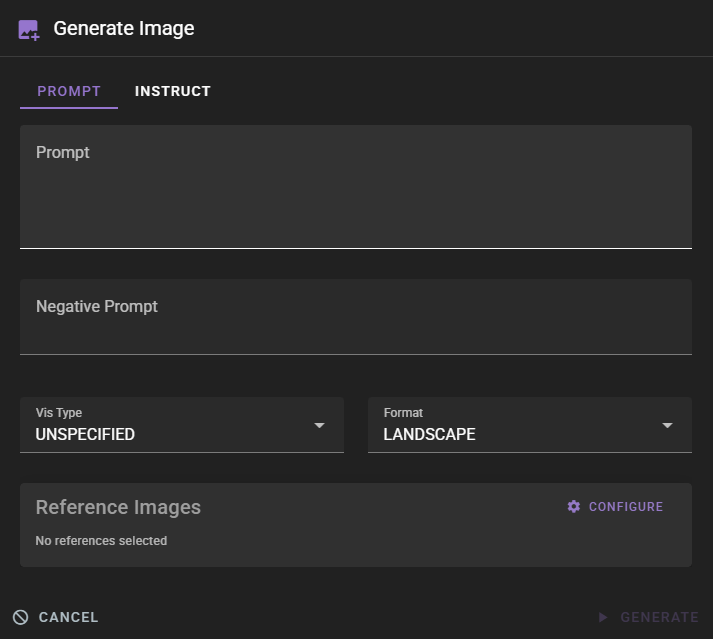
When generating an image, you'll need to configure several settings:
- Prompt: A detailed description of what you want to generate
- Negative Prompt: Things you want to avoid in the generated image
- Vis Type: The category of visual content (see Visual Types for detailed explanations)
- Format: The aspect ratio:
LANDSCAPE: Wide formatPORTRAIT: Tall formatSQUARE: Square format
- Reference Images: Optional images to guide the generation (requires Image Edit backend)
Negative Prompt Support
Whether negative prompts are supported and how they're handled depends on your configured backend and model. Some backends fully support negative prompts, while others may ignore them or handle them differently. It's important to educate yourself about how your specific backend handles negative prompts.
When in doubt, you can try adding descriptive "don't include X" statements at the end of your negative prompt, though this approach can be finnicky and results may vary. For best results, consult your backend's documentation or experiment to understand how negative prompts work with your specific setup.
For character-related visual types, you'll also need to select the Character from your scene's character list.
Visual Types
The Vis Type setting determines the category and purpose of the image you're generating. Each type has specific characteristics and default formats:
Format Enforcement
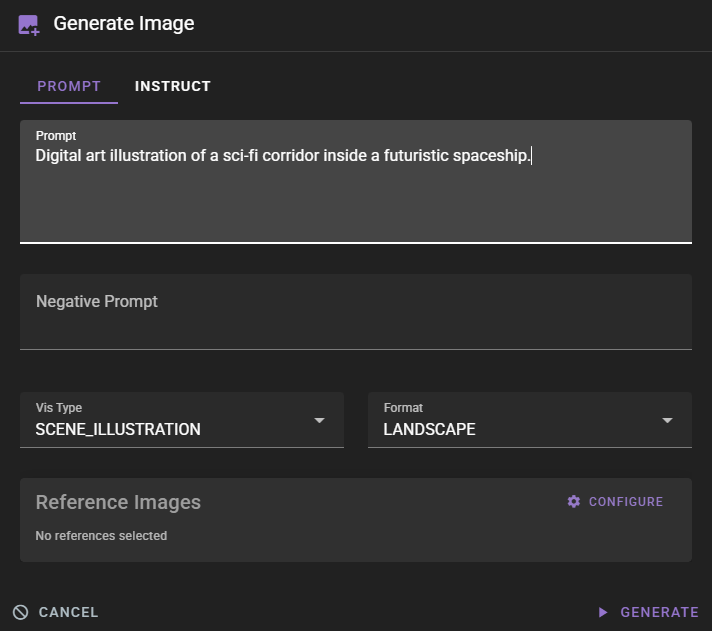
Format enforcement based on Vis Type only applies in Instruct mode. In Prompt mode, you can select any format regardless of the Vis Type you choose. For example, you can create a CHARACTER_CARD with a LANDSCAPE format if desired.
Character Types:
-
CHARACTER_CARD: Full character portrait cards designed to showcase a character's appearance, personality, and style. These are typically used as character reference images and are formatted as portrait-oriented images. Ideal for creating visual character sheets or reference cards that capture a character's key visual elements. -
CHARACTER_PORTRAIT: Square-format character portraits focused on the character's face and upper body. These are commonly used as profile pictures, avatar images, or character icons. The square format makes them suitable for consistent display in character lists or UI elements.
Scene Types:
-
SCENE_CARD: Portrait-oriented scene cards that capture key moments or locations in your story. These are useful for creating visual storyboards or scene reference images that can be used to maintain visual consistency throughout your narrative. -
SCENE_BACKGROUND: Wide landscape-format background images for scenes. These are designed to be used as environmental backgrounds behind characters or as standalone scene illustrations. Perfect for establishing the setting and atmosphere of a scene. -
SCENE_ILLUSTRATION: Detailed landscape-format scene illustrations that capture full scenes with characters, environments, and action. These are comprehensive visual representations of scenes and are ideal for creating rich, detailed scene artwork.
Other:
UNSPECIFIED: Use this when the image doesn't fit into a specific category or when you want maximum flexibility. The system will use default settings, but you can still specify the format manually.
Once you've configured your settings, click Generate to start the image generation process. Generation happens in the background, allowing you to continue working while the image is being created.
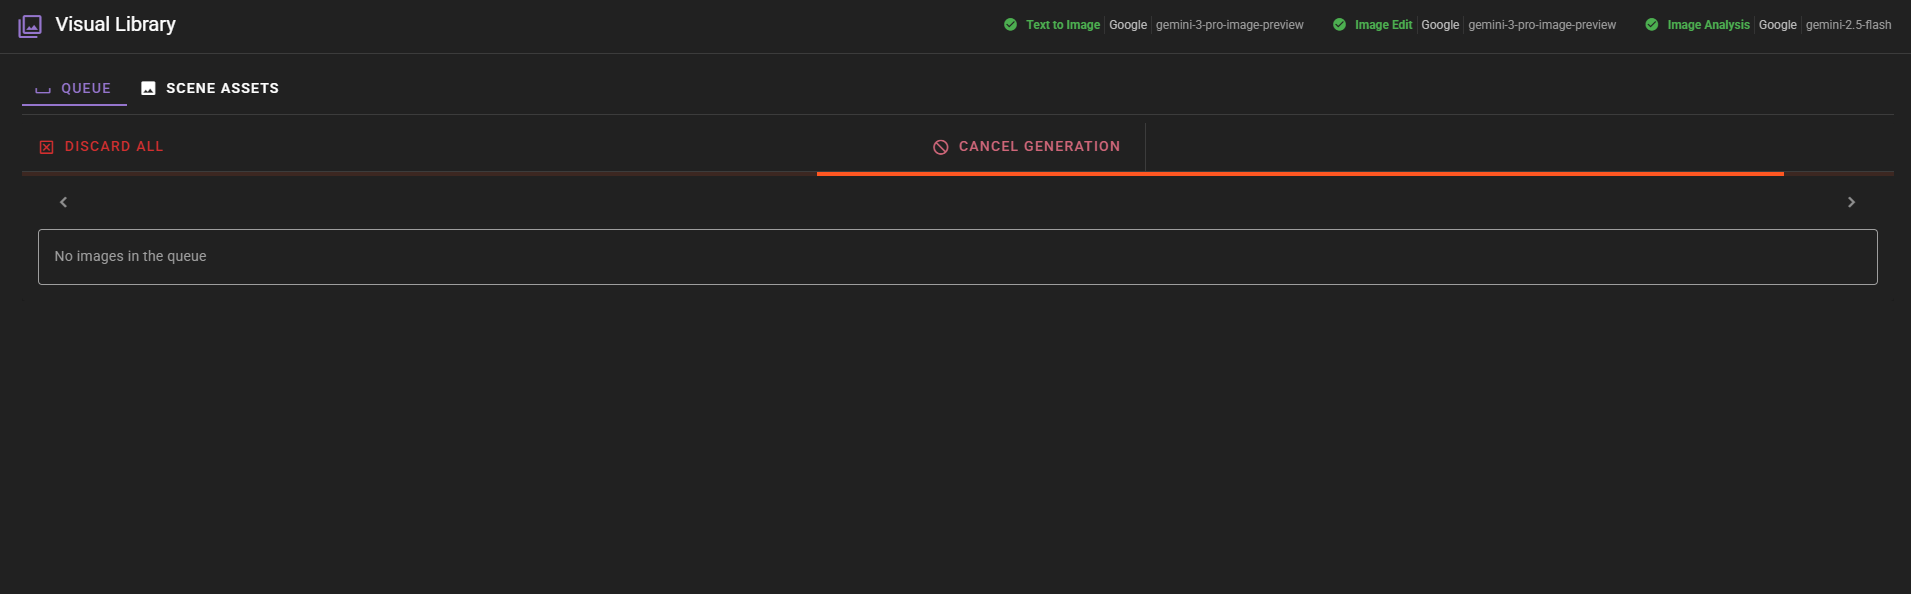
You can cancel an ongoing generation by clicking the Cancel Generation button. Once complete, the generated image appears in the queue.
Regenerating Images
If you're not satisfied with a generated image, you can regenerate it using the same parameters. The Regenerate button recreates the image with the same settings.
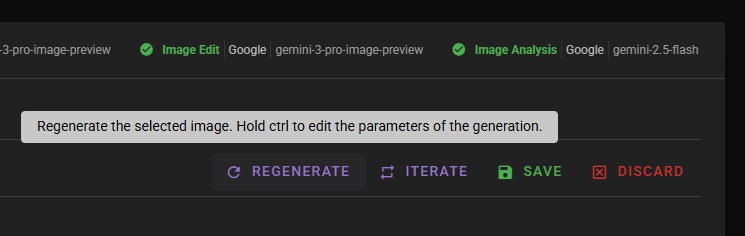
Hold Ctrl (or Cmd on Mac) while clicking Regenerate to open the generation dialog with the current parameters pre-filled, allowing you to modify them before regenerating.
Instruct Mode
The Instruct mode allows you to generate images using natural language instructions that the visual agent interprets. This mode is particularly useful for character images, as it can incorporate character context and scene information.
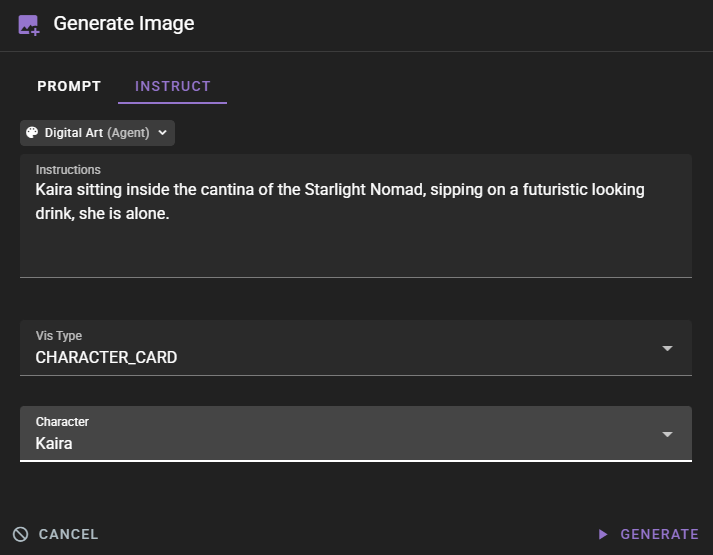
In Instruct mode, you provide instructions rather than a direct prompt. The visual agent uses these instructions along with character and scene context to generate an appropriate prompt. You can also customize the art style using Visual Style templates if configured in your scene.
Format in Instruct Mode
Unlike Prompt mode, Instruct mode automatically enforces the format based on the selected Vis Type. The format dropdown is not available in Instruct mode, as the system automatically selects the appropriate format for each visual type (e.g., CHARACTER_CARD uses PORTRAIT, SCENE_BACKGROUND uses LANDSCAPE).
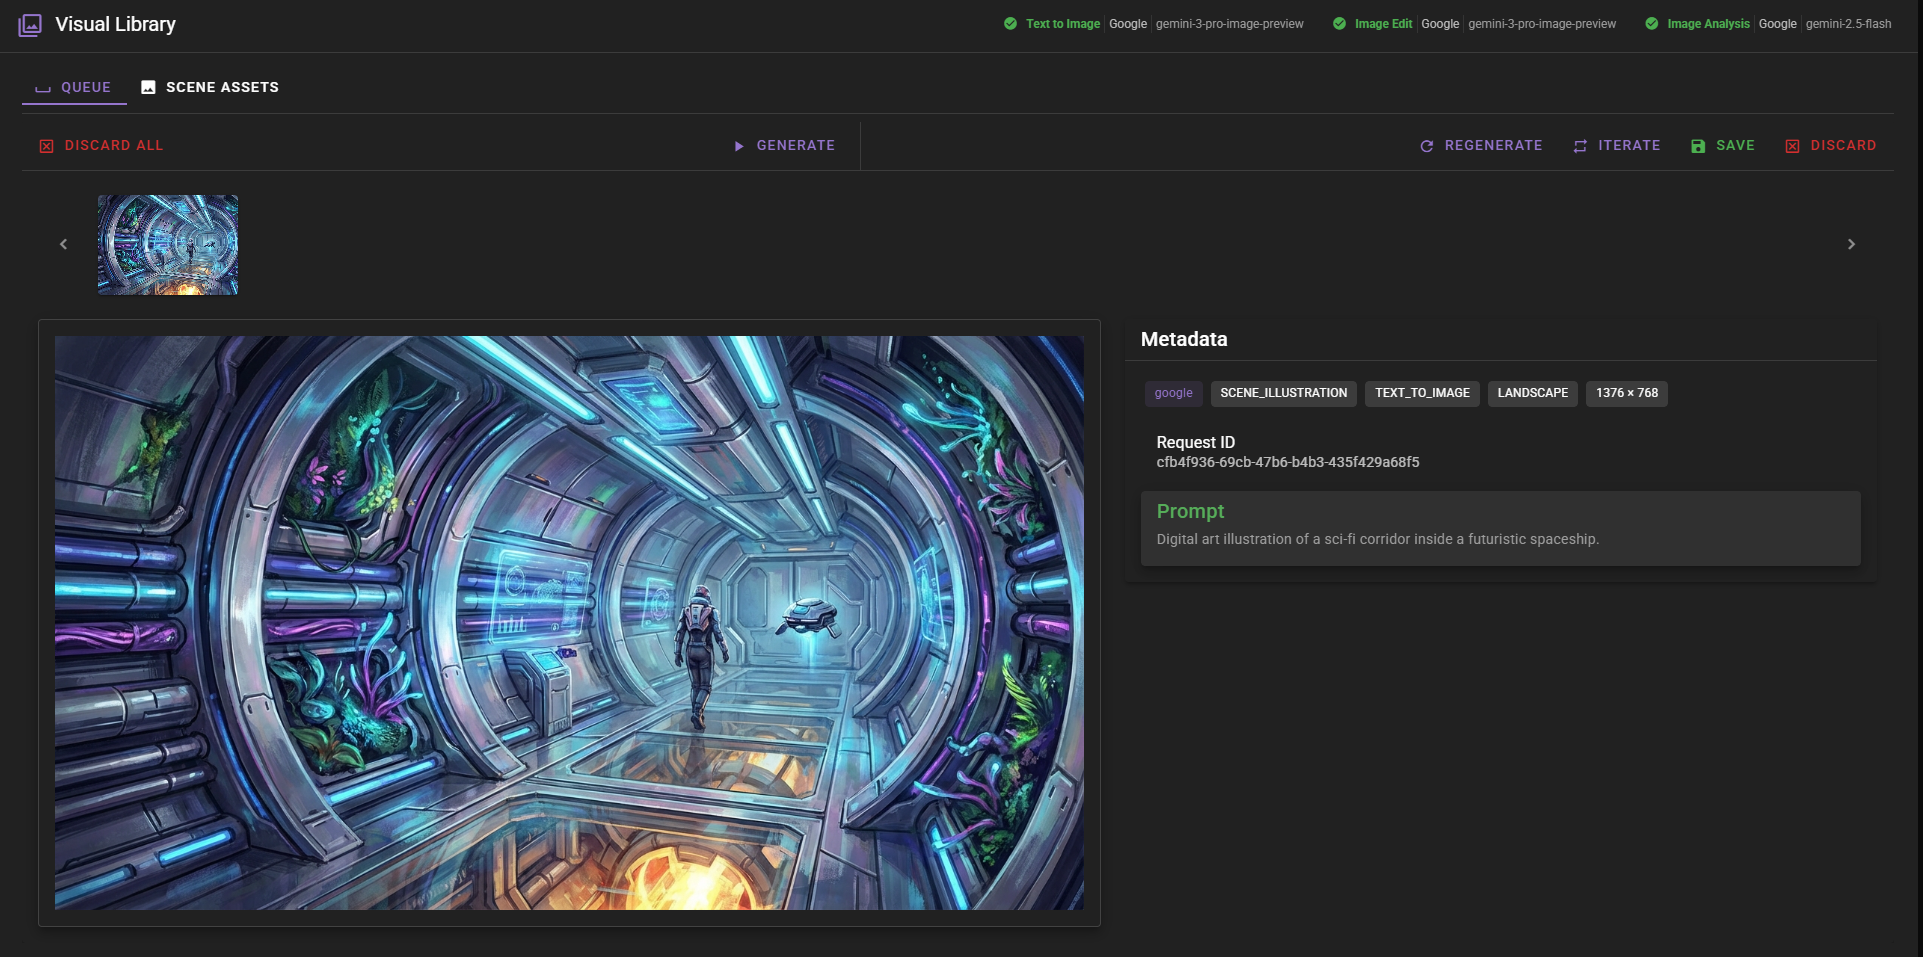
The generated image appears in the queue with full metadata showing both the instructions you provided and the final prompt that was used.
Reference Images
Reference images can be used to guide generation, helping maintain consistency with existing assets. When generating character images, reference images from the character's existing assets are automatically included.

Reference images are particularly useful when:
- Generating character images to maintain visual consistency
- Creating scene images that should match existing environments
- Using image editing to modify specific aspects of an image
Note that reference images require the Image Edit backend to be configured. If unavailable, you'll see a warning message in the generation dialog.
Image Editing Limitations
Image editing (including reference images and iteration) is a rapidly evolving technology and may not always work the way you expect. Sometimes edits may not make changes at all, or may produce unexpected results. We expect this functionality to improve significantly as models get better.
At the time of writing this tutorial:
- Cloud backends: Google's
gemini-3-image-preview(also known as "nano-banana 2") appears to be the best option by a long shot and is what we're using for the examples in this tutorial. - Local backends: ComfyUI with Qwen image edit is currently the best local option.
If you're experiencing issues with image editing, consider trying a different backend or model, and be prepared to experiment with different prompts and approaches.
Iterating on Images
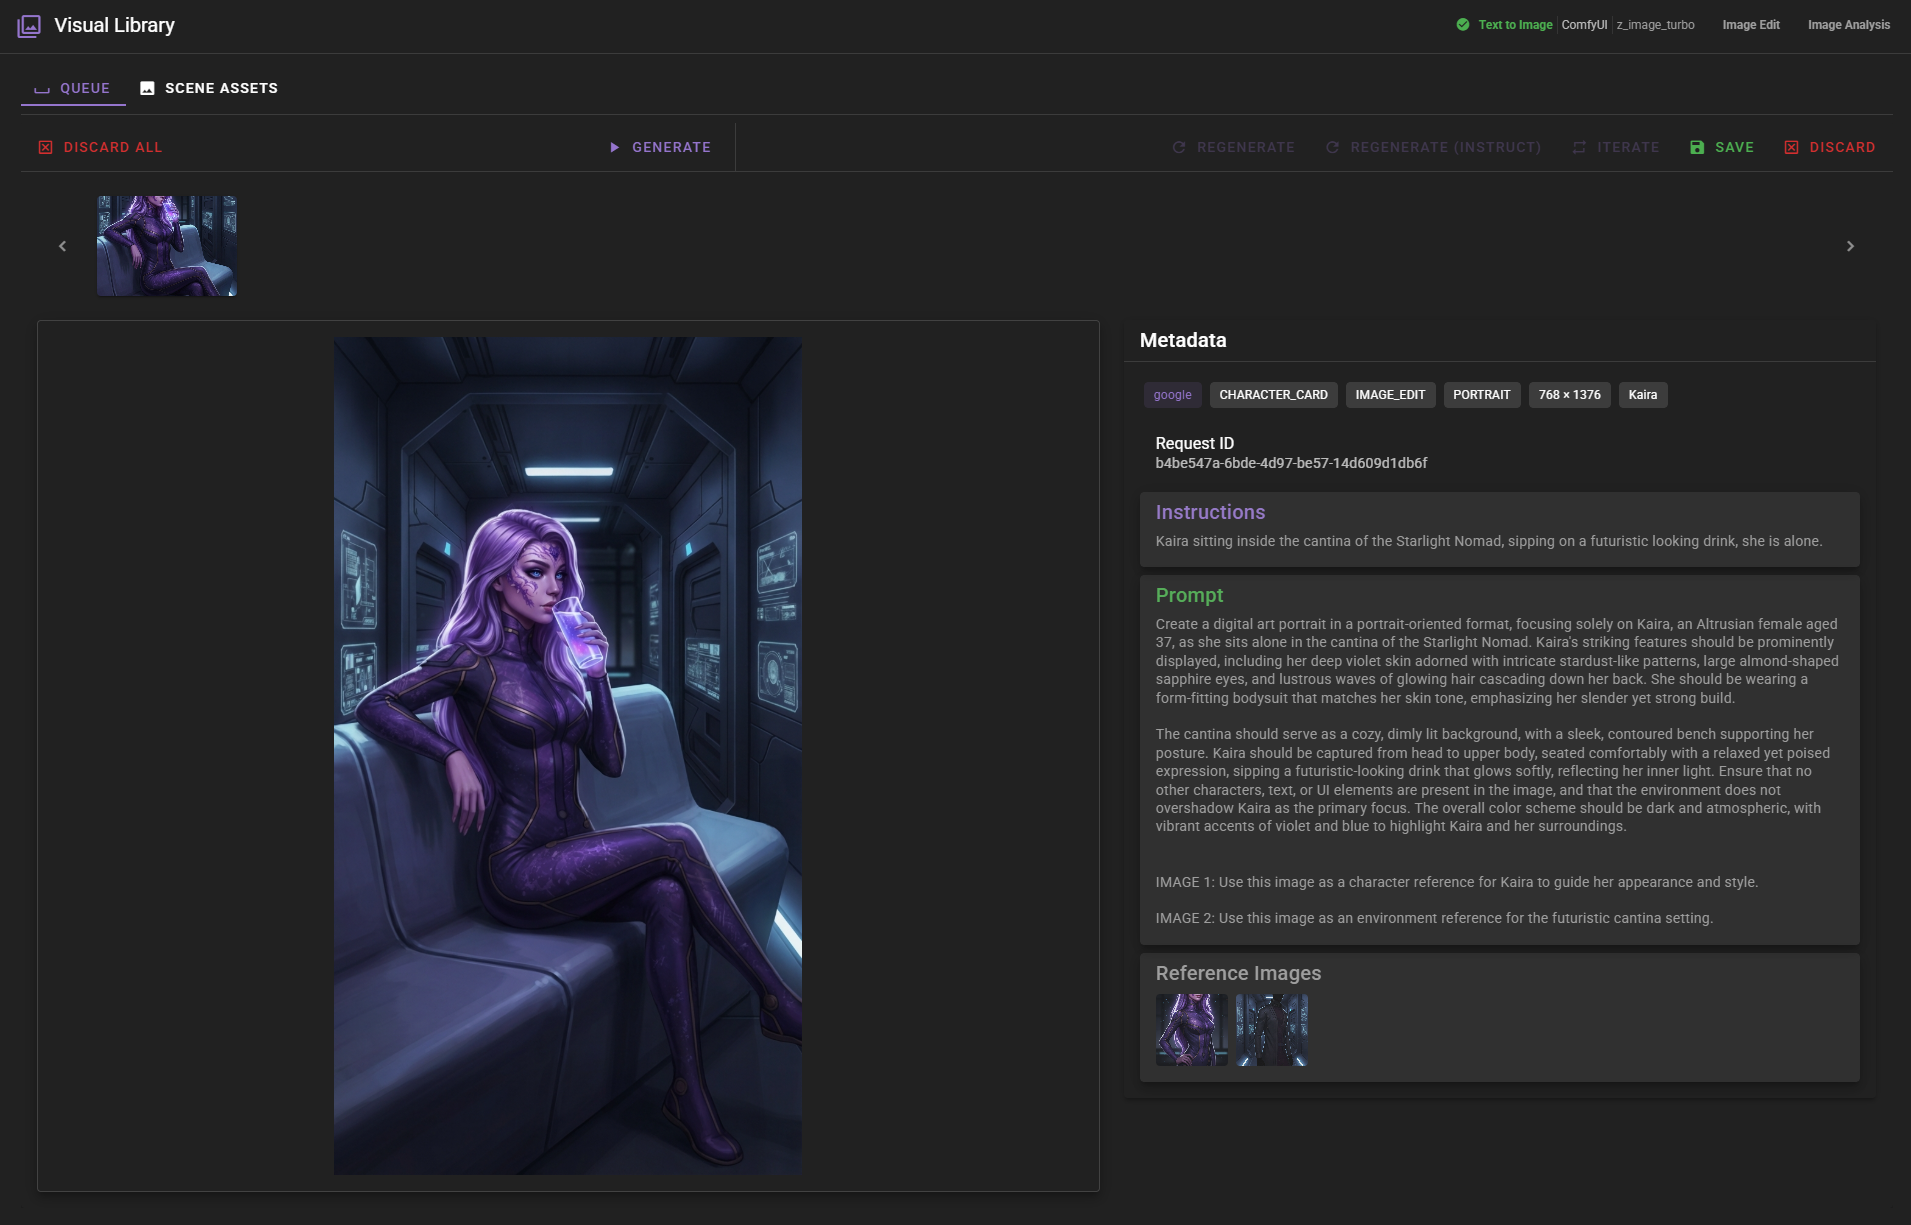
Sometimes a generated image captures what you want in most ways, but needs specific adjustments. For example, looking at the image we generated of Kaira in the cantina, the character herself looks great, but the background doesn't quite match a cantina setting—it looks more like a straight corridor than the cozy lounge environment we were aiming for.
Iteration allows you to modify an existing image by using it as a reference for a new generation. This is perfect for situations like this where you want to make specific changes without starting from scratch and losing the parts of the image that already work well.
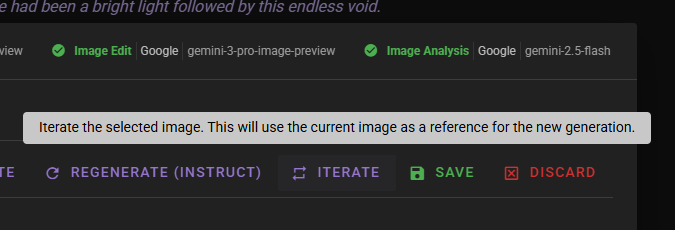
When you click Iterate, the generation dialog opens with the current image automatically set as an inline reference. This reference cannot be removed when iterating on unsaved images, ensuring the new generation maintains visual consistency with the original.

You can then provide a prompt describing the changes you want to make. In our case, we want to fix the background to better match a cantina environment:
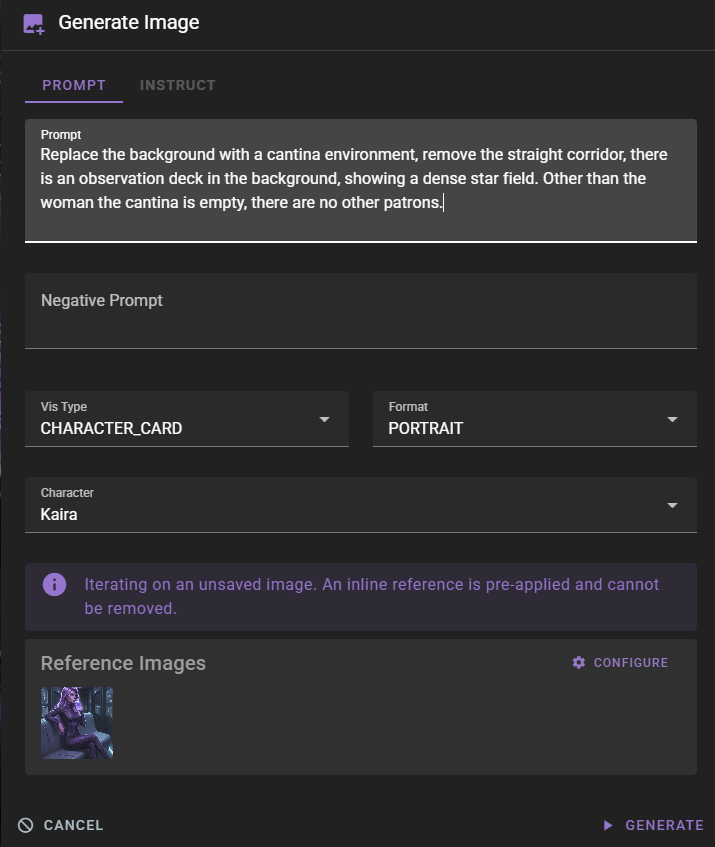
The iterated image maintains visual consistency with the original while incorporating your requested changes.

Saving Images
Once you're satisfied with a generated image, you can save it to your scene's asset library. Saved images become permanent assets that can be used as references, set as covers, or analyzed.
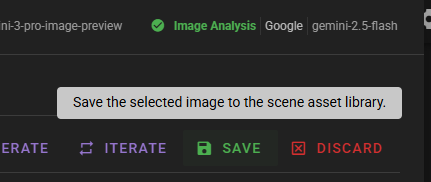
Clicking Save opens a dialog asking you to name the asset. Choose a descriptive name that will help you identify it later.
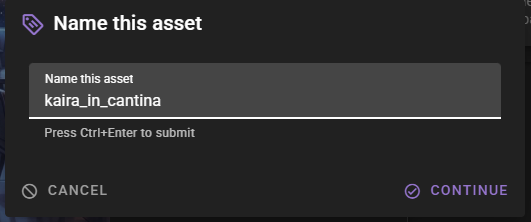
You can press Ctrl+Enter (or Cmd+Enter on Mac) to quickly submit the name. Once saved, the image is moved from the queue to the Scene Assets library, and a checkmark indicator appears on saved images in the queue.
Managing the Queue
The queue can hold multiple generated images. You can navigate between them using the thumbnail strip at the top, or by clicking directly on thumbnails.
To remove images from the queue:
- Discard: Removes the selected image from the queue
- Discard All: Clears the entire queue

Note: Discarding images permanently removes them. Make sure to save any images you want to keep before discarding them.
Scene Assets
The Scene Assets tab provides access to all saved images in your scene. Assets are organized in a folder structure by visual type and character.
Shared Assets Across Scenes
Scene assets are shared across all scene files within the same project. This means that when you save an image in one scene, it becomes available to all other scenes in that project. This is particularly useful for maintaining visual consistency across multiple scenes and reusing character portraits, scene backgrounds, and other assets without duplicating them.
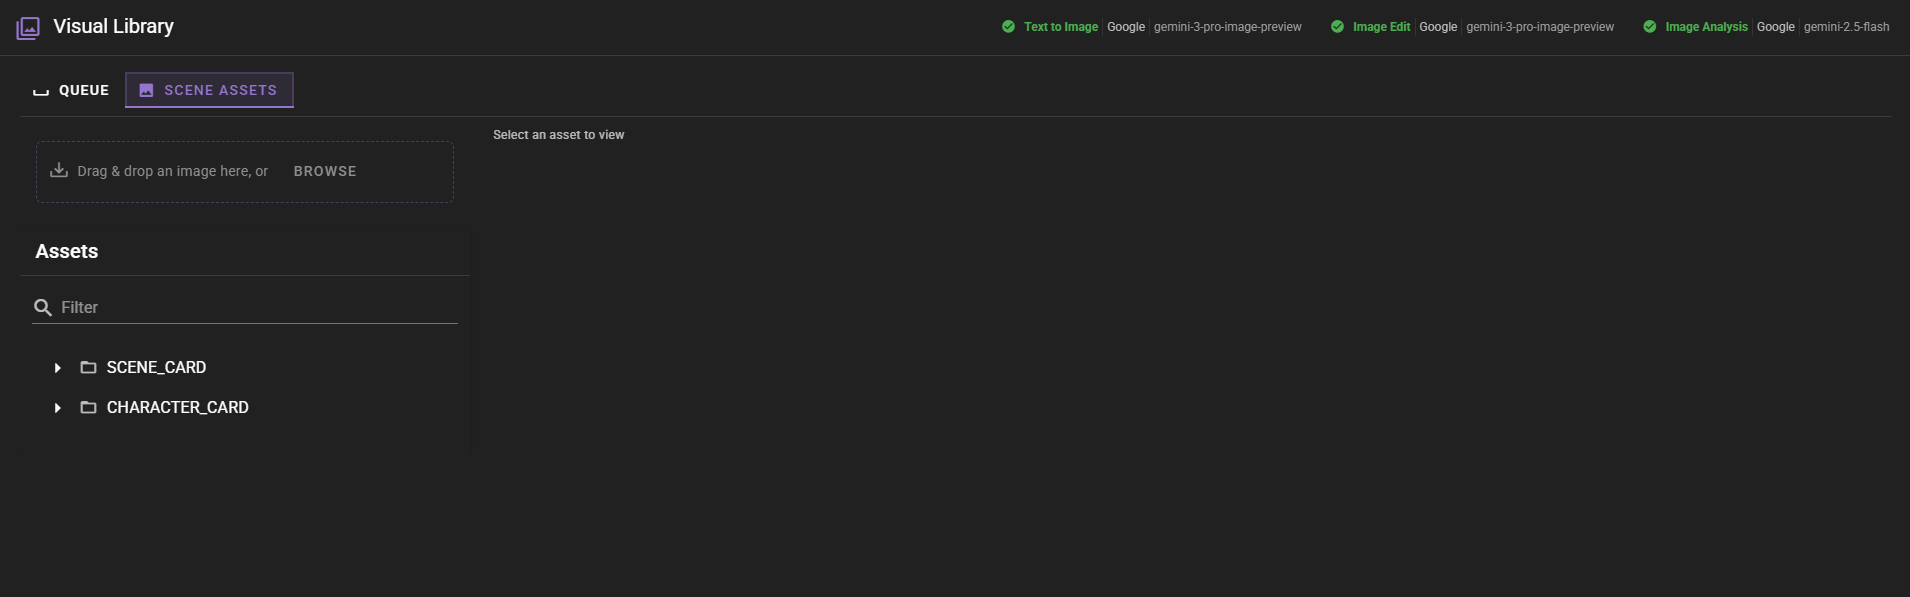
The left sidebar shows:
- Upload Area: Drag and drop images here to add them to your scene assets
- Asset Tree: Organized folders showing assets by visual type and character
Selecting an asset from the tree displays it in the main viewing area with full metadata and management options.
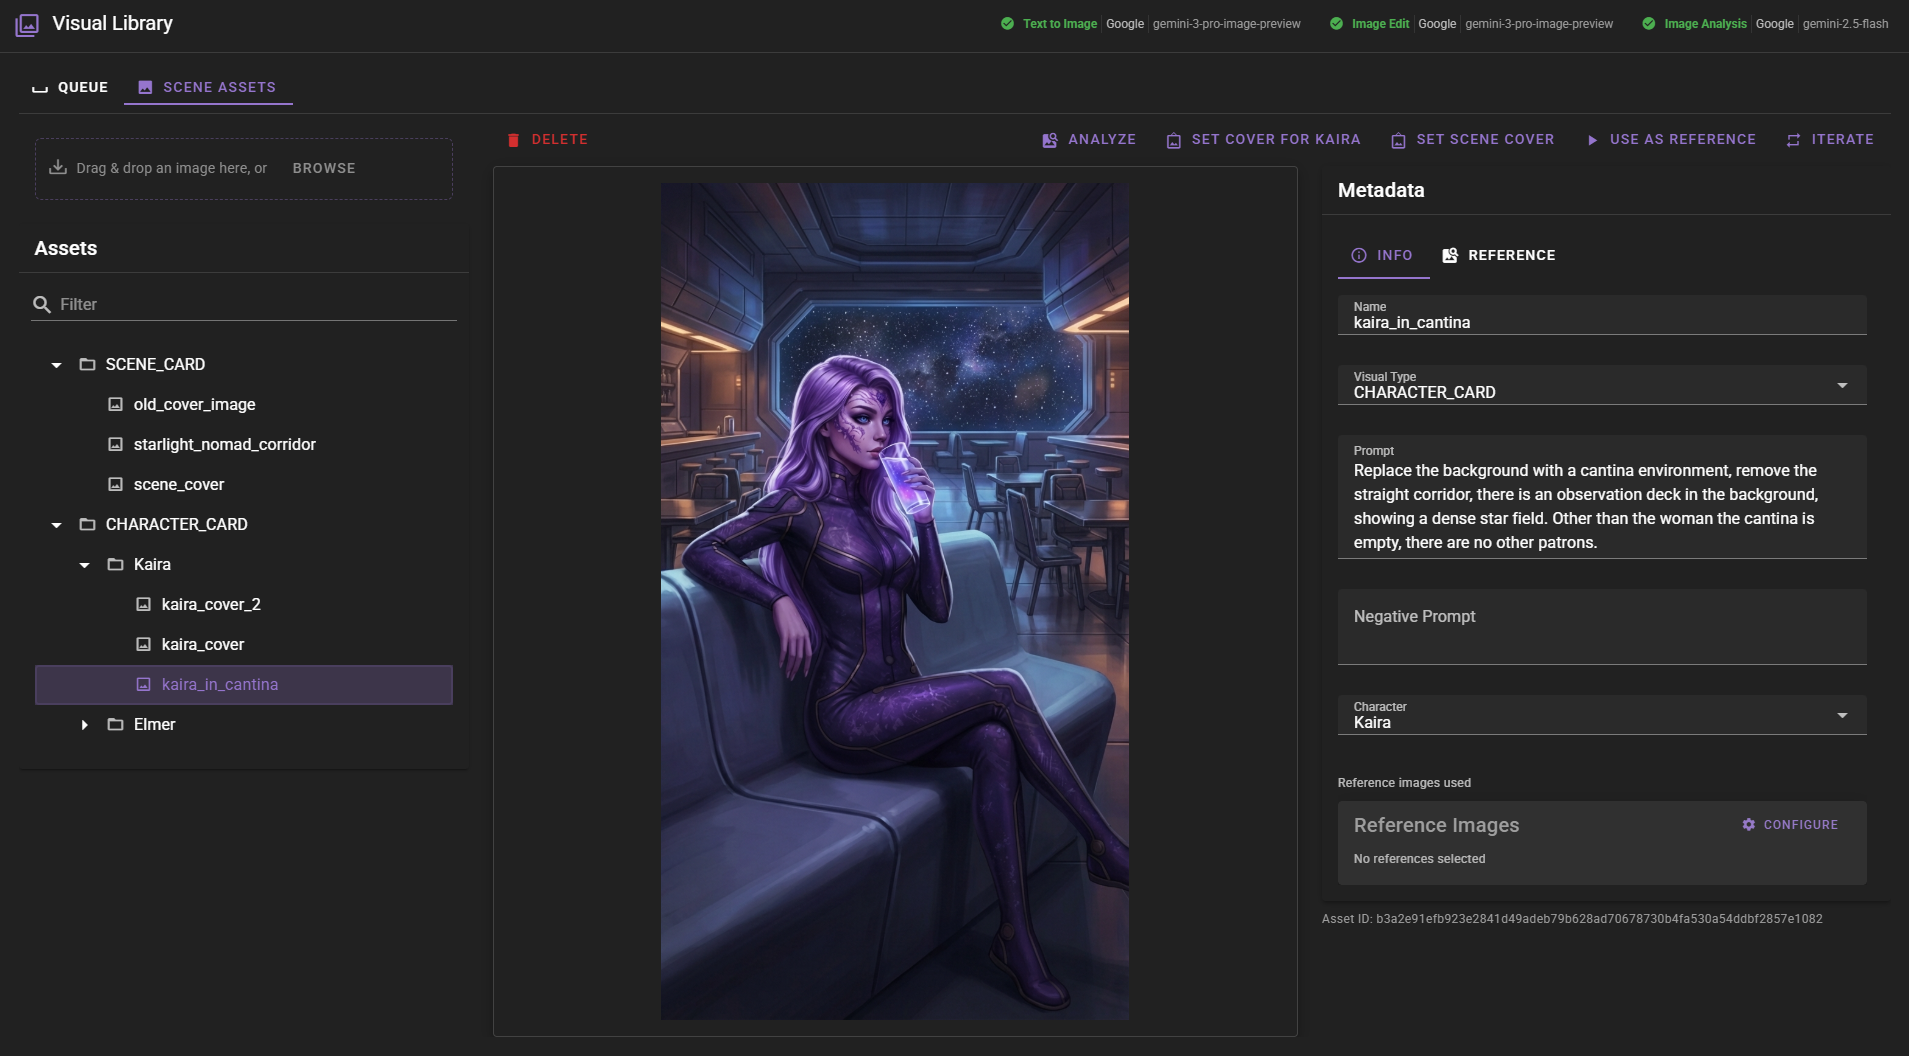
Asset Management
From the Scene Assets view, you can:
- Delete: Permanently remove an asset from your scene
- Analyze: Use AI to analyze the image and extract information
- Set Cover: Set the asset as a cover image for the scene or a character
- Use as Reference: Open the generation dialog with this asset as a reference
- Iterate: Create a new image based on this asset
Uploading Images
You can manually upload images to your scene assets library. This is useful for adding images created outside of Talemate, such as artwork from other tools, stock images, or reference photos.
To upload an image:
- Navigate to the Scene Assets tab in the Visual Library
- In the left sidebar, locate the Upload Area
- Either:
- Drag and drop an image file directly onto the upload area, or
- Click the upload area to open a file browser and select an image file
- Once the image is selected, you'll be prompted to configure:
- Vis Type: Select the appropriate visual type for the image (e.g.,
CHARACTER_CARD,SCENE_BACKGROUND, etc.) - Character: If uploading a character-related image, select the character from your scene's character list
- Vis Type: Select the appropriate visual type for the image (e.g.,
- The image will be added to your scene assets and organized according to its visual type and character assignment
Uploaded images become part of your shared asset library and can be used as references, analyzed, set as covers, or iterated upon just like generated images. After uploading, you may want to add tags and configure reference settings to make the asset more discoverable by the visual agent.
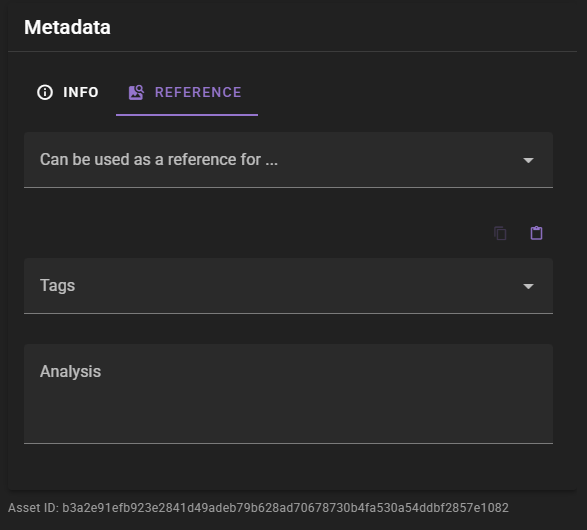
Reference Configuration
Assets can be configured for use as references in future generations. The Reference tab in the metadata panel allows you to specify:
- Can be used as a reference for...: Which visual types this asset can be used as a reference for
- Tags: Descriptive tags that help organize and find assets
Configuring Reference Types
The "Can be used as a reference for..." setting is vital for allowing the visual agent to automatically select assets during Instruct mode generation. When you generate images using Instruct mode, the visual agent will automatically look for and use assets that are configured as references for the visual type you're generating. Without this configuration, assets won't be automatically selected by the agent, even if they're relevant to your scene or characters.
Tags are particularly useful for organizing large asset libraries and can be used to filter assets in the sidebar.
Cover Crop
The Cover crop tab allows you to define a crop region for an image that will be applied whenever the image is used as a cover image (for characters or scenes). This is useful when you have a wide or tall image where only a specific portion should be displayed in the cover image area.
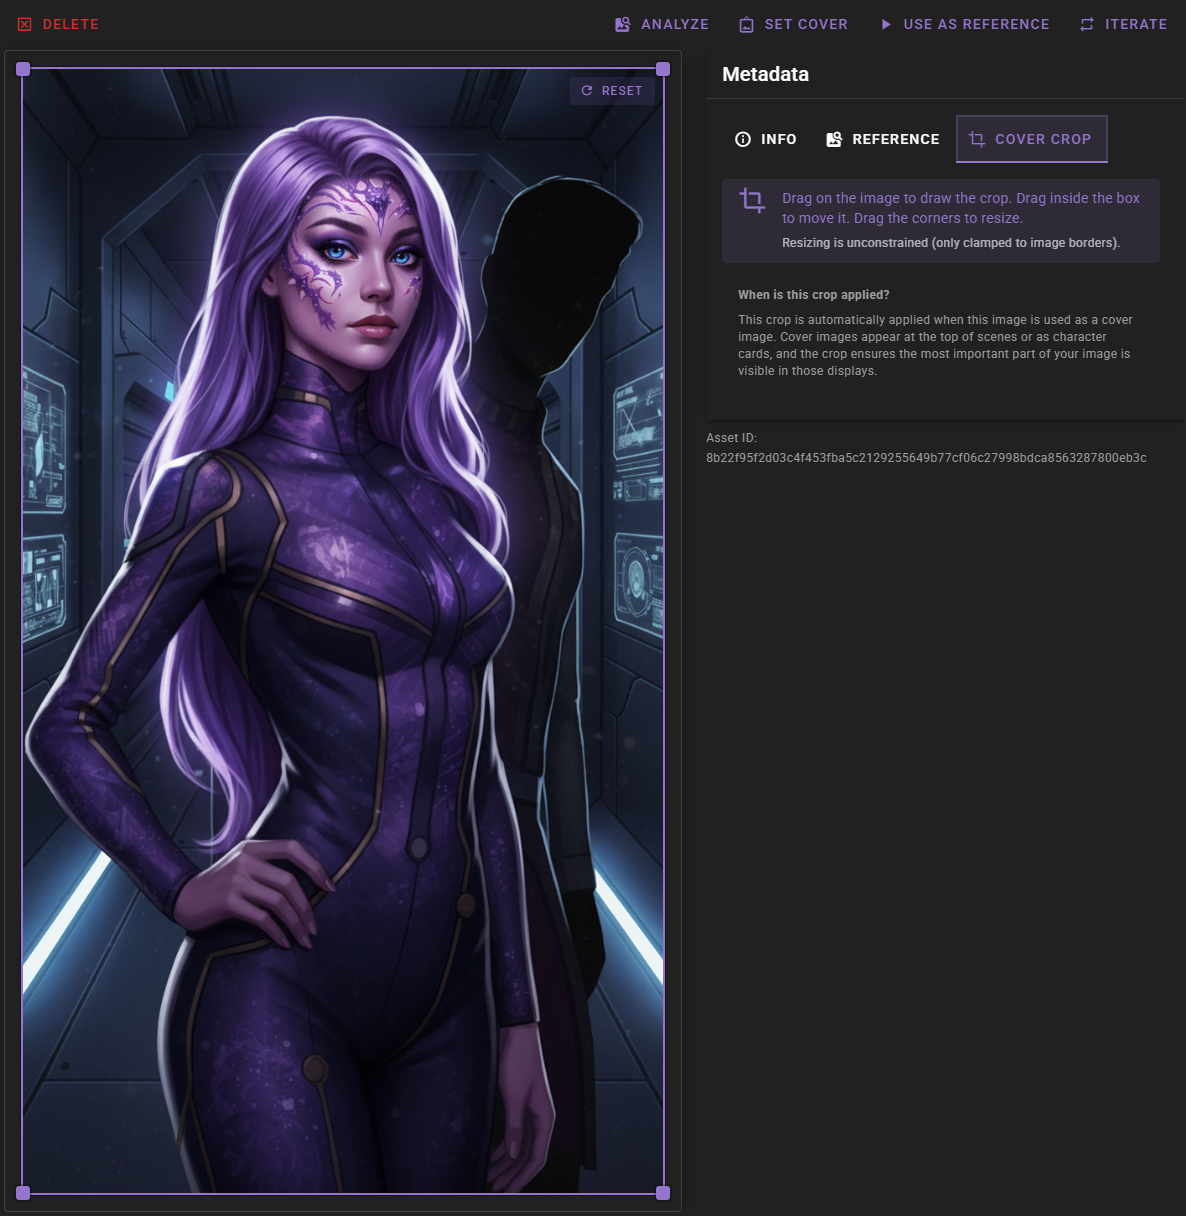
Cover images appear at the top of scenes or as character cards, and the crop ensures the most important part of your image is visible in those displays.
Setting Up a Crop Region
To define a crop region:
- Select an asset from the Scene Assets tree to open it for editing
- Click the Cover crop tab in the metadata panel
- On the image preview, drag to draw a rectangular crop region
- Adjust the region as needed:
- Move: Drag inside the crop box to reposition it
- Resize: Drag any of the four corner handles to resize the crop region
- Click Save to save your changes
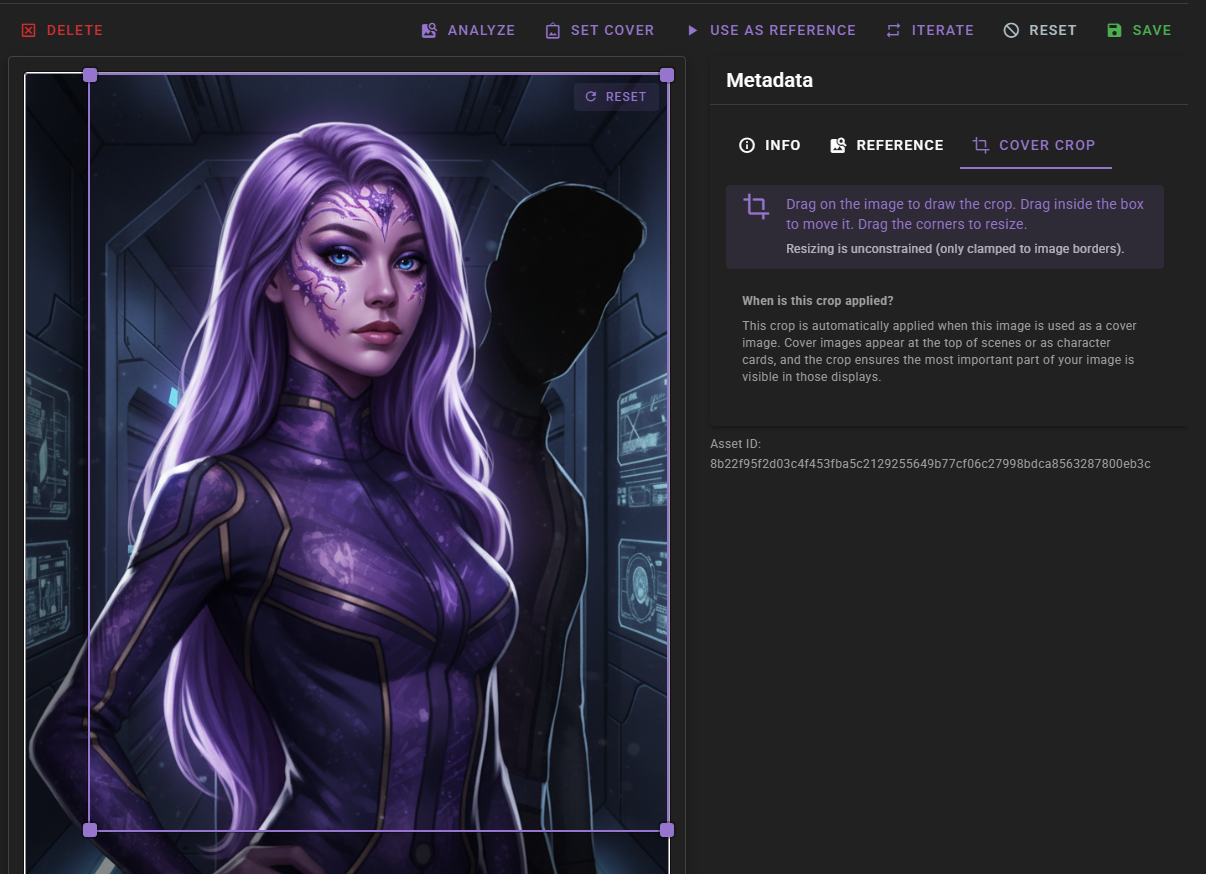
The area outside your crop region appears dimmed, giving you a preview of what will be visible when the image is used as a cover.
Resetting the Crop
To remove a custom crop and use the full image, click the Reset button in the top-right corner of the image preview. This sets the crop region to encompass the entire image.
When is the Crop Applied?
The crop region is automatically applied when:
- The image is set as a scene cover image and displayed in the scene header
- The image is set as a character cover image and displayed in the character panel
- The image appears in any other context that uses the cover image display
The original image file is never modified. The crop is applied dynamically when the image is displayed.
Image Analysis
Image analysis uses AI to extract detailed information from images. This is useful for:
- Generating descriptions for use in prompts
- Understanding image content
- Creating tags automatically
- Documenting scene elements
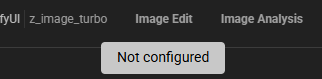
Image Analysis Backend Required
Image analysis requires the Image Analysis backend to be configured and available. If the backend is not configured, the Analyze button will be disabled or unavailable. Make sure you have an image analysis backend set up in your visual agent configuration before attempting to analyze images.
Automatic Analysis During Generation
If you prefer not to manually analyze each image, you can enable Automatic Analysis of References in the Visualizer settings. When enabled, any reference images lacking analysis data will be automatically analyzed before prompt generation.
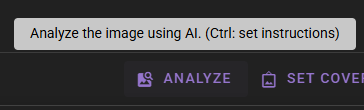
Click Analyze to perform a quick analysis with default settings, or hold Ctrl (or Cmd on Mac) to open a dialog where you can specify custom analysis instructions.
The analysis results appear in the metadata panel's Reference tab:
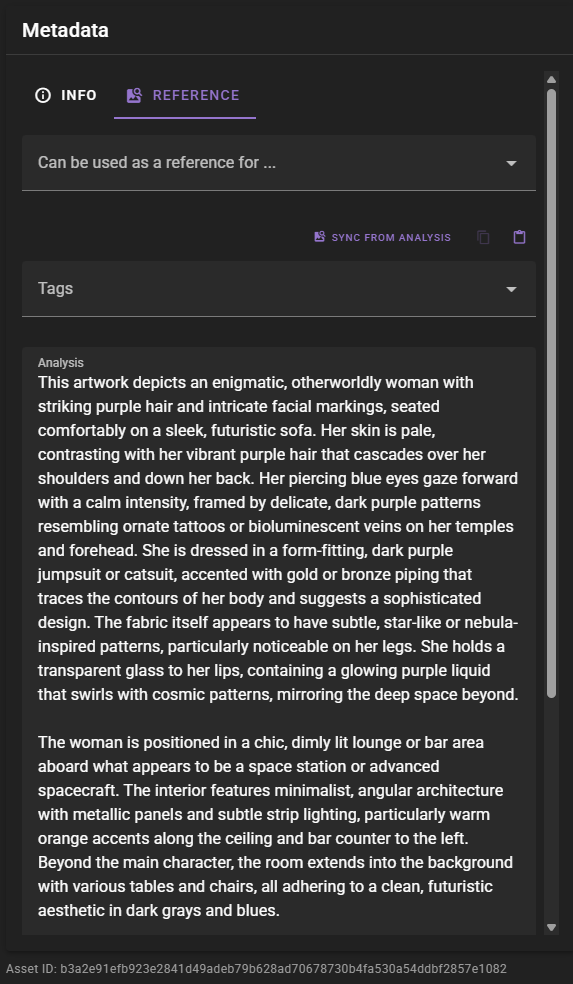
Generating Tags from Analysis
Once you have an analysis, you can use the Sync from Analysis button to automatically generate tags from the analysis text. This helps organize your assets and makes them easier to find.
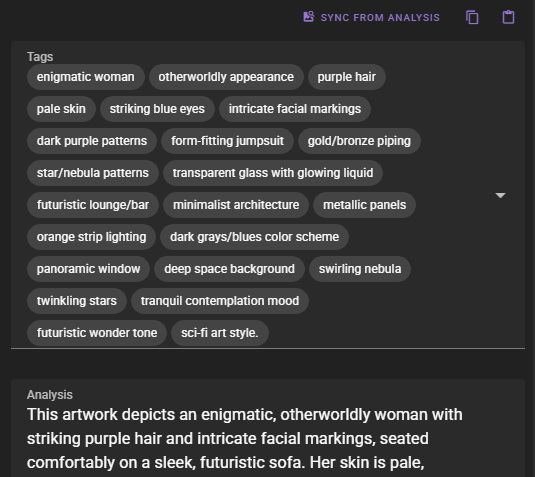
Tags are extracted from the analysis text and can be edited manually if needed. They're particularly useful when searching for specific assets in large libraries.
Tags Are Vital for Reference Selection
Tags are vital for helping the visual agent pick the correct references during Instruct mode generation. The visual agent uses tags to identify and select relevant assets, but does not use the large analysis text at all. Make sure to populate tags with relevant keywords that describe the asset's content, character, setting, style, and other important attributes. Well-tagged assets are much more likely to be automatically selected by the visual agent when generating images.
Saving Metadata Changes
After making changes to an asset's metadata (tags, reference settings, analysis, etc.), click Save to commit your changes.
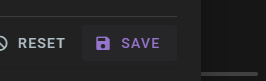
The Reset button discards any unsaved changes and restores the asset's metadata to its last saved state.
Backend Requirements
Different features of the Visual Library require different backend configurations:
- Text to Image: Required for basic image generation
- Image Edit: Required for using reference images and iteration
- Image Analysis: Required for analyzing images with AI

The status indicators at the top of the Visual Library show which backends are configured and available. If a feature requires a backend that isn't configured, you'll see a warning message when trying to use it.
For information on configuring backends, see the Visual Agent Configuration documentation.