SD.Next
The SD.Next backend provides image generation and editing capabilities using Stable Diffusion Next (SD.Next), a fork of AUTOMATIC1111's Stable Diffusion WebUI. SD.Next offers improved performance and additional features while maintaining compatibility with the AUTOMATIC1111 API.
Prerequisites
Before configuring the SD.Next backend, you need to have SD.Next installed and running. SD.Next can be run locally or accessed remotely via its API.
- Install and start SD.Next on your system
- Ensure the API is enabled and accessible
- Note the API URL (default is
http://localhost:7860)
Configuration
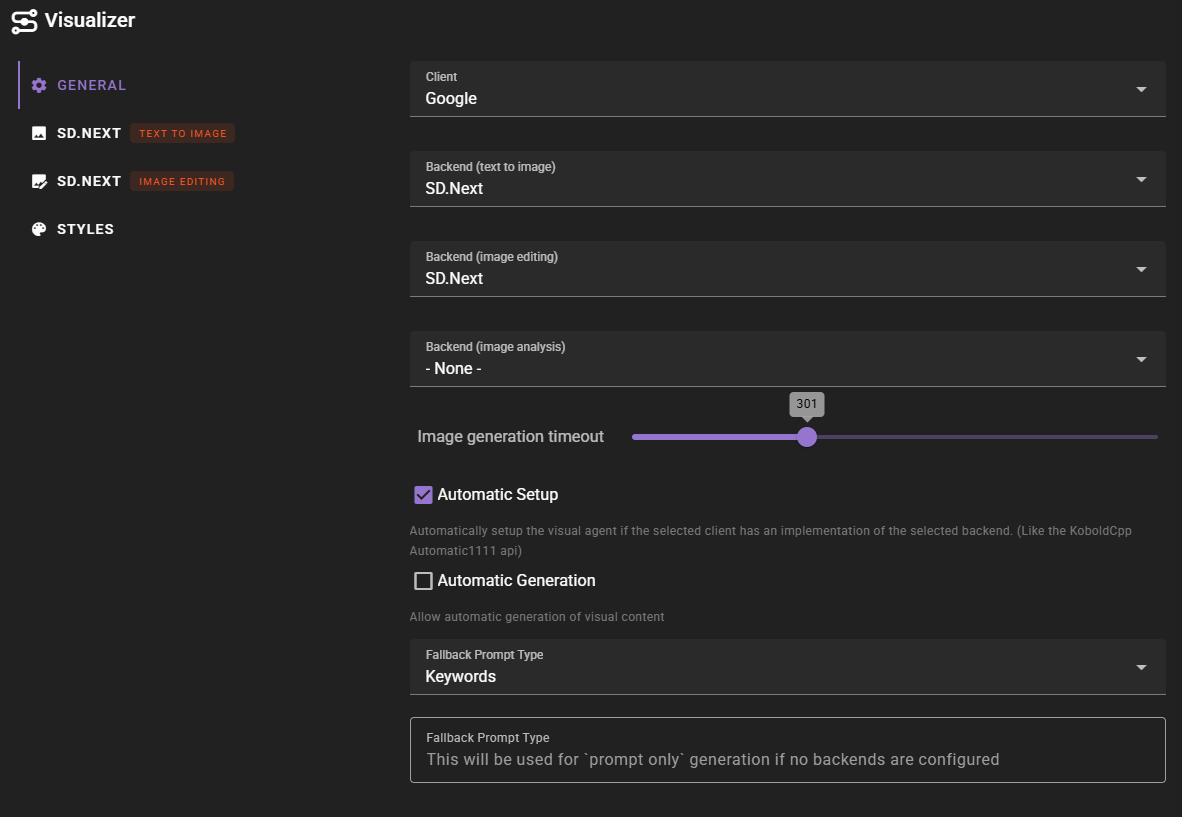
In the Visualizer agent settings, select SD.Next as your backend for text-to-image generation, image editing, or both. You'll need to configure each backend separately if you want to use SD.Next for different operations.
Text-to-Image Configuration
For text-to-image generation, configure the following settings:
- API URL: The URL where your SD.Next instance is running (e.g.,
http://localhost:7860) - Authentication Method: Choose the authentication method:
- None: No authentication required
- Basic (username/password): Use username and password authentication
- Bearer (API Key): Use API key authentication
ArliAI SD.Next Endpoints
If you're connecting to ArliAI's SD.Next endpoints, you should use Bearer (API Key) authentication method. Configure your API key in the authentication settings.
- Username/Password (if using Basic auth): Your SD.Next credentials
- API Key (if using Bearer auth): Your API key for SD.Next
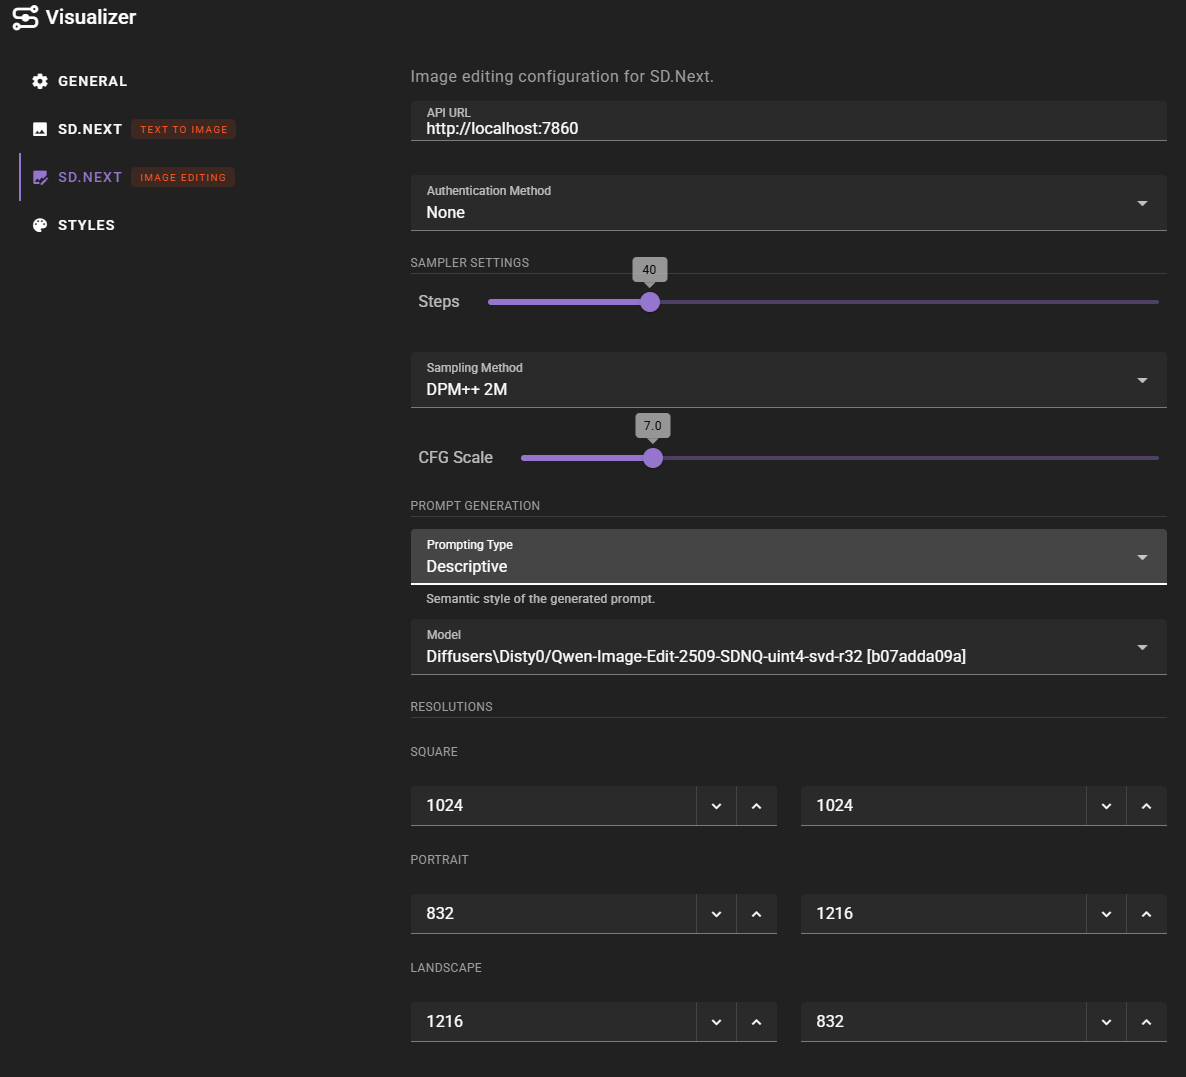
- Steps: Number of sampling steps (default: 40, range: 5-150)
- Sampling Method: The sampling algorithm to use (dynamically populated from your SD.Next instance)
- CFG Scale: Classifier-free guidance scale (default: 7.0, range: 1-30)
- Model: Select the model to use from your SD.Next models directory (dynamically populated)
- Prompt Type: Choose between "Keywords" or "Descriptive" prompt formatting
- Resolutions: Configure the pixel dimensions for Square, Portrait, and Landscape formats


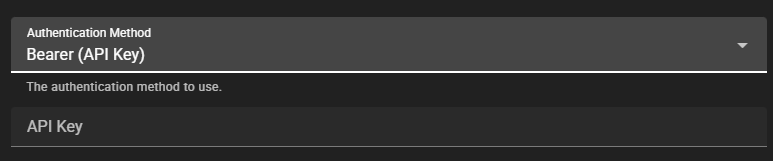
Image Editing Configuration
For image editing, configure similar settings. SD.Next supports image editing through its img2img API, which uses a single reference image.
Reference Images
SD.Next image editing supports a single reference image. When editing an image, provide one reference image that will be used as the base for the edit.
Usage
Once configured, the SD.Next backend will appear in the Visualizer agent status with green indicators showing which capabilities are available.

The status indicators show:
- Text to Image: Available when text-to-image backend is configured
- Image Edit: Available when image editing backend is configured (shows "References 1" indicating single reference support)
Model and Sampler Selection
SD.Next dynamically fetches the list of available models and samplers from your instance when you configure the backend. This means:
- Models: The model dropdown is automatically populated with models available in your SD.Next installation
- Samplers: The sampling method dropdown is automatically populated with samplers available in your SD.Next instance
If you change the API URL or authentication settings, Talemate will automatically refresh the model and sampler lists from the new instance.
Model Selection
If you don't select a specific model, SD.Next will use its default model. You can select "- Default Model -" from the dropdown to explicitly use the default, or leave the field empty.
Sampler Settings
SD.Next provides extensive control over the generation process:
- Steps: More steps generally produce higher quality images but take longer. Typical values range from 20-50 steps, with 40 being a good default.
- Sampling Method: Different samplers produce different results. Popular options include:
- DPM++ 2M: Fast and high quality (default)
- Euler a: Fast, good for quick iterations
- DPM++ 2M Karras: Variant with different characteristics
- CFG Scale: Controls how closely the model follows your prompt. Lower values (1-7) allow more creative freedom, higher values (7-15) stick closer to the prompt.
Prompt Formatting
SD.Next uses Keywords prompt formatting by default. This means prompts are formatted as keyword lists optimized for Stable Diffusion models. You can switch to Descriptive formatting if you prefer natural language descriptions, though Keywords typically work better with SD models.
Remote Access
If you're running SD.Next on a remote server:
- Configure SD.Next to listen on the appropriate network interface
- Use the server's IP address or hostname in the API URL (e.g.,
http://192.168.1.100:7860) - Configure appropriate authentication if your SD.Next instance requires it
- Ensure your firewall allows connections to the SD.Next port
Security Considerations
If exposing SD.Next over a network, always use authentication. Unauthenticated SD.Next instances can be accessed by anyone on your network, which may pose security risks.