Shared World & Episodes
The Shared World panel allows you to manage shared context and episodes, enabling you to create interconnected scenes and alternative storylines within your project.
Accessing Shared World
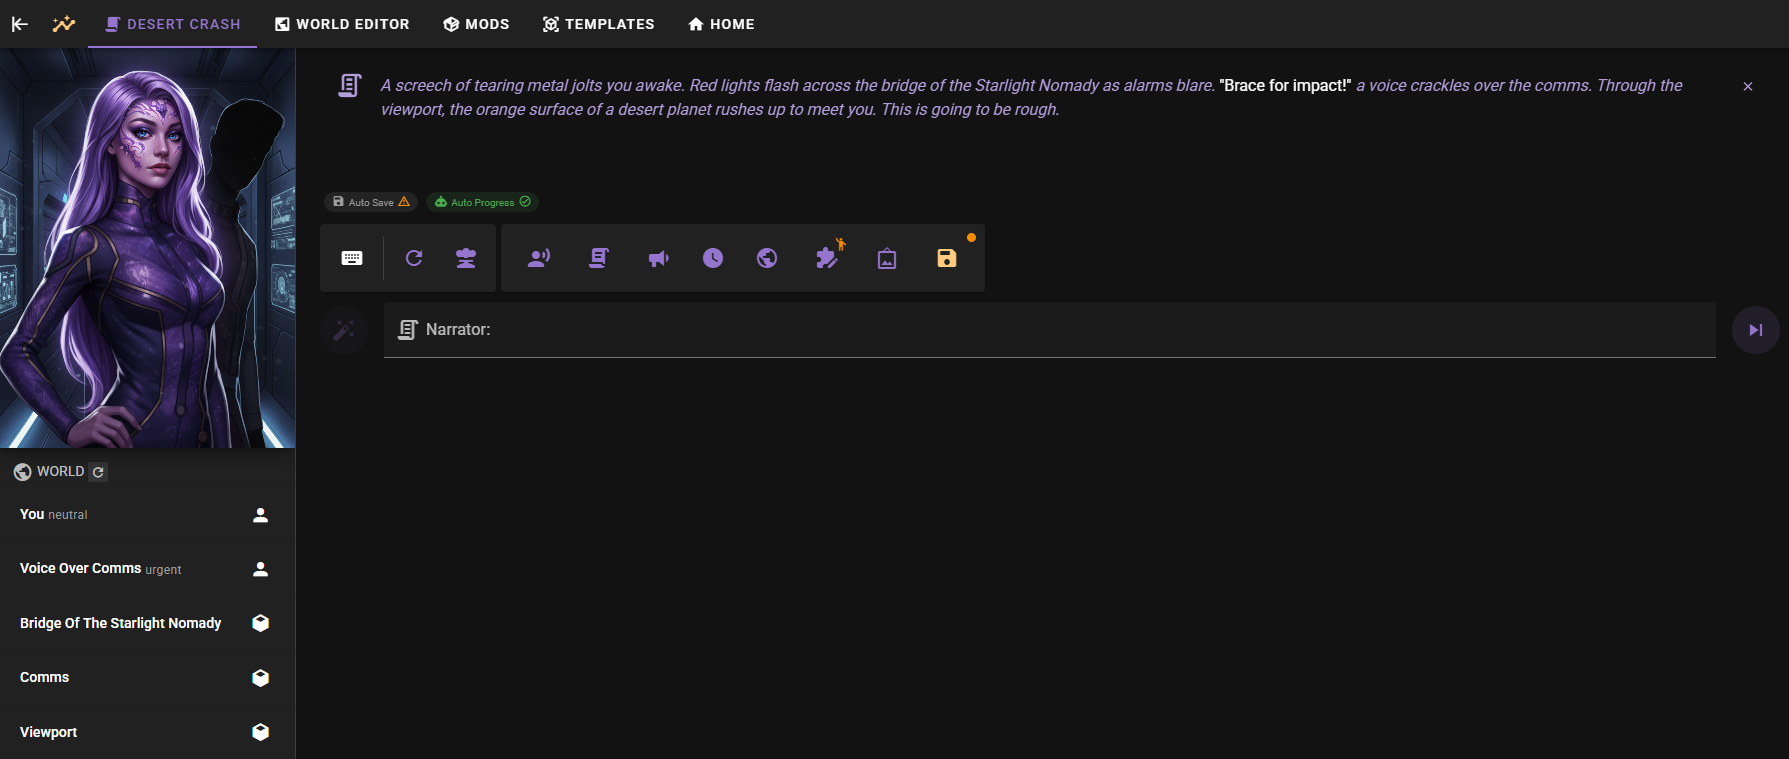
Navigate to World Editor Scene Shared World
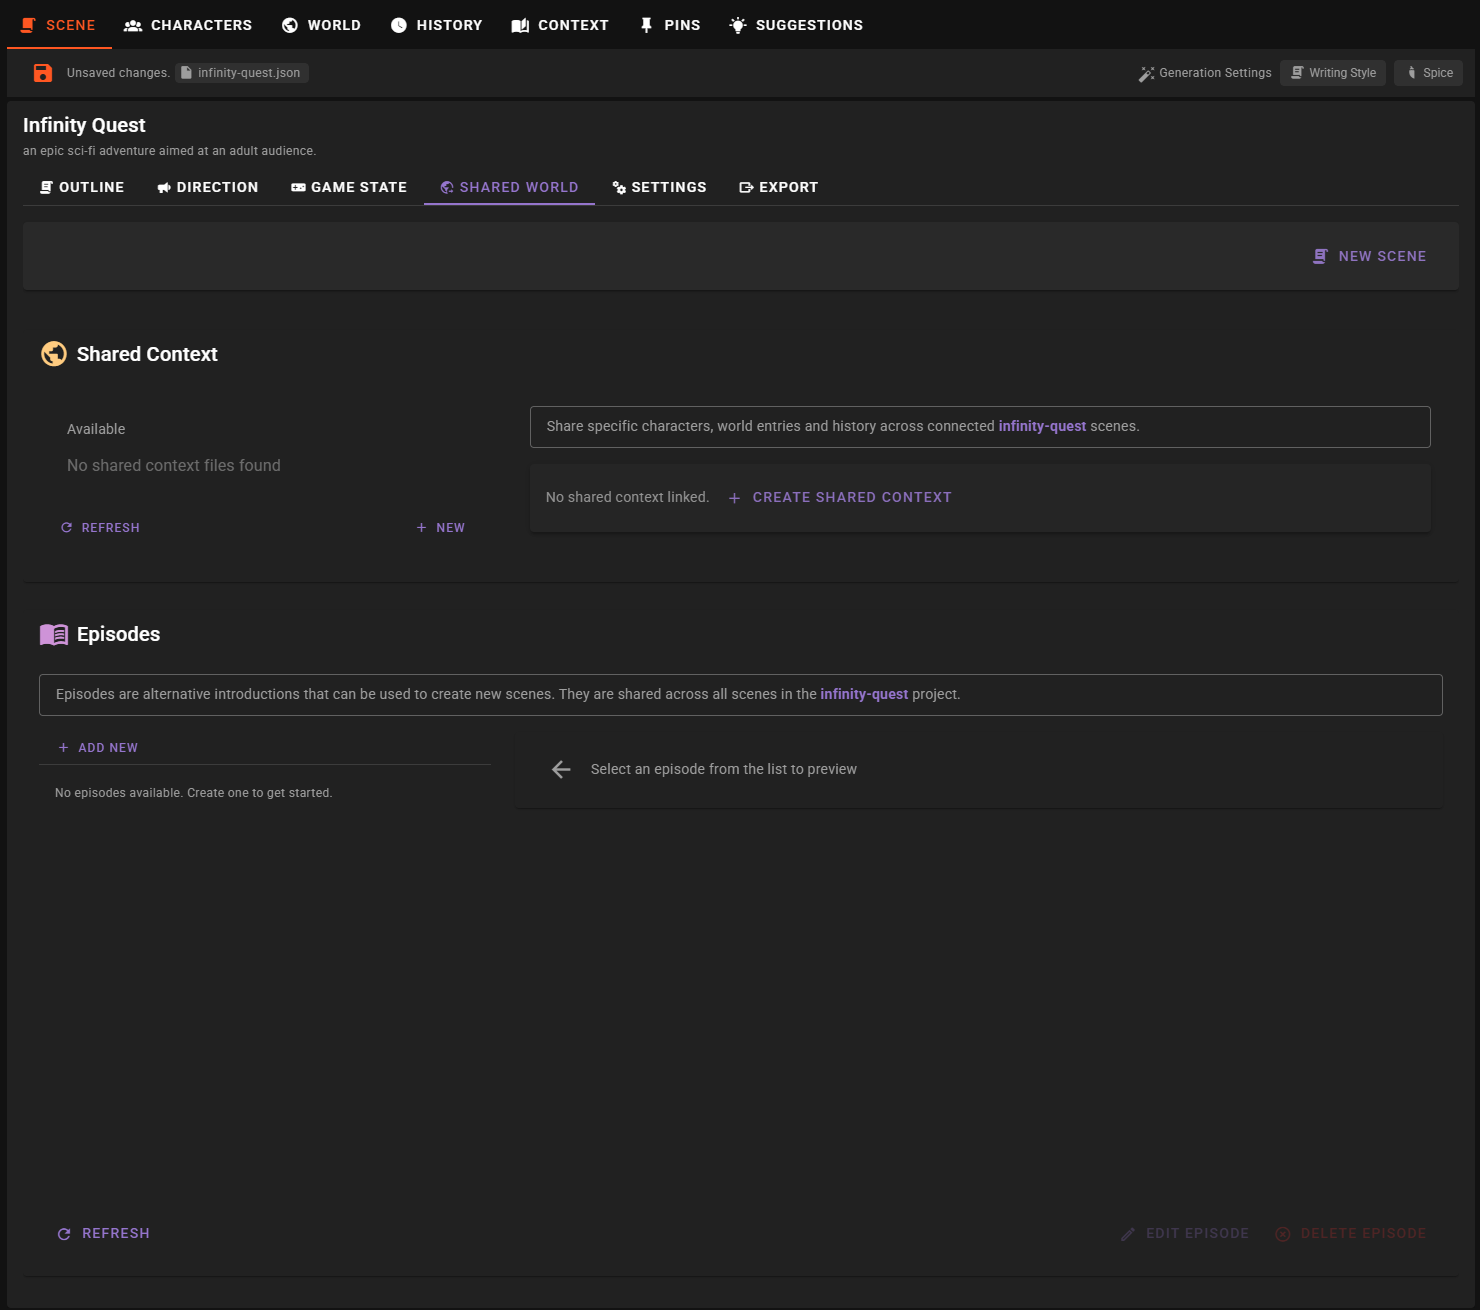
Shared Context
Shared Context allows you to share specific characters, world entries, and history across multiple scenes within the same project. This is useful for creating interconnected stories where certain elements remain consistent across different scenarios.
Creating a Shared Context
- Click the New button in the Shared Context section.

- Enter a filename for your shared context in the prompt dialog.
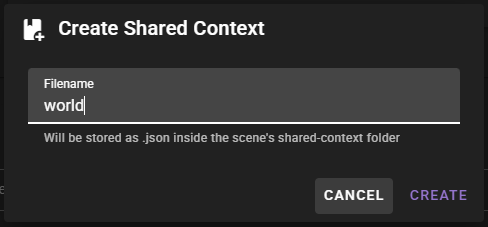
- The file will be saved as a
.jsonfile in the scene'sshared-contextfolder and will appear in the list.

Linking a Scene to Shared Context
- Select a shared context file from the list by clicking the checkbox.
- The selected shared context will appear as a chip at the top of the panel.
- Only one shared context can be active per scene.
When a scene is linked to a shared context, you'll see the active context displayed in the "New Scene Section" at the top.
Bulk Sharing Elements
Once linked, you can quickly share or unshare all characters and world entries from the current scene to the shared context.
- Click on the Shared Characters or Shared World Entries chip.
- Select Share all... or Unshare all... from the menu.
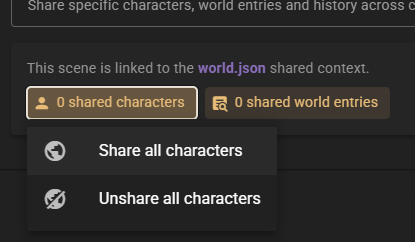
This is a convenient way to populate a new shared context with all the entities from your current scene.
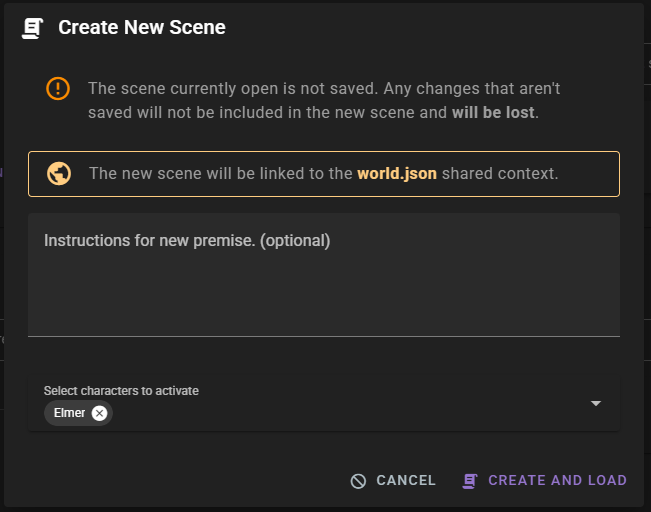
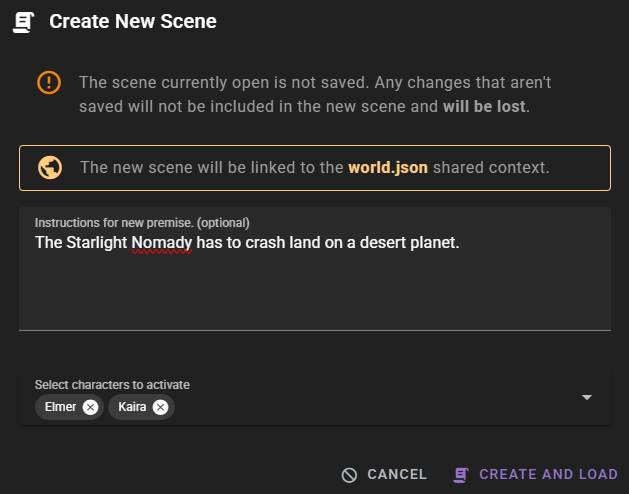
Creating New Scenes with Shared Context
Once a scene is linked to a shared context, you can create new scenes that inherit the same shared elements:
- Click the New Scene button at the top of the panel.
- The dialog will indicate that the new scene will be linked to the selected shared context.
- Optionally provide instructions for generating a new premise.
- Select which shared characters to activate in the new scene.
- Click Create and load.
The new scene will:
- Be linked to the same shared context
- Inherit the content classification settings
- Use the same agent persona templates
- Use the same writing style template
- Include selected shared characters
- Be part of the same project
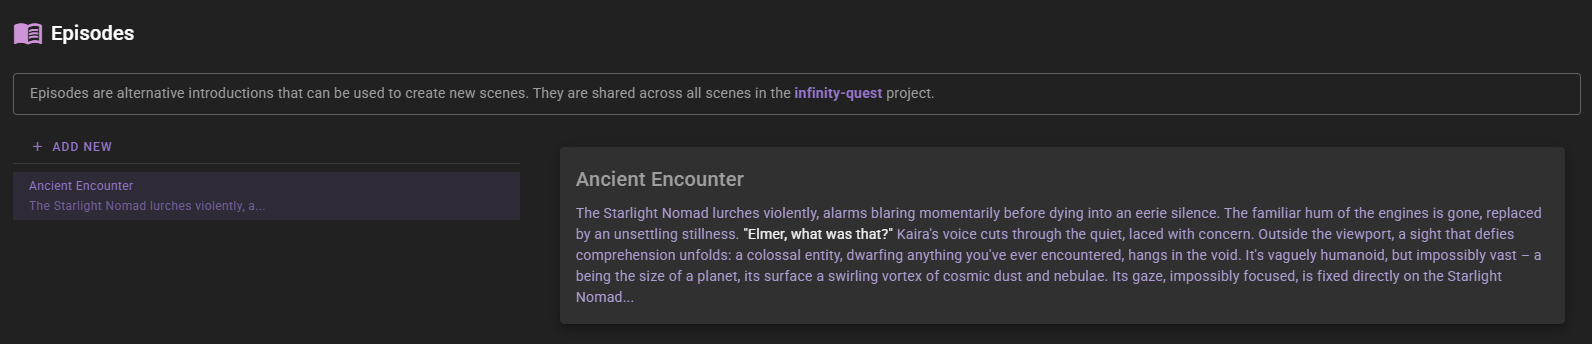
Episodes
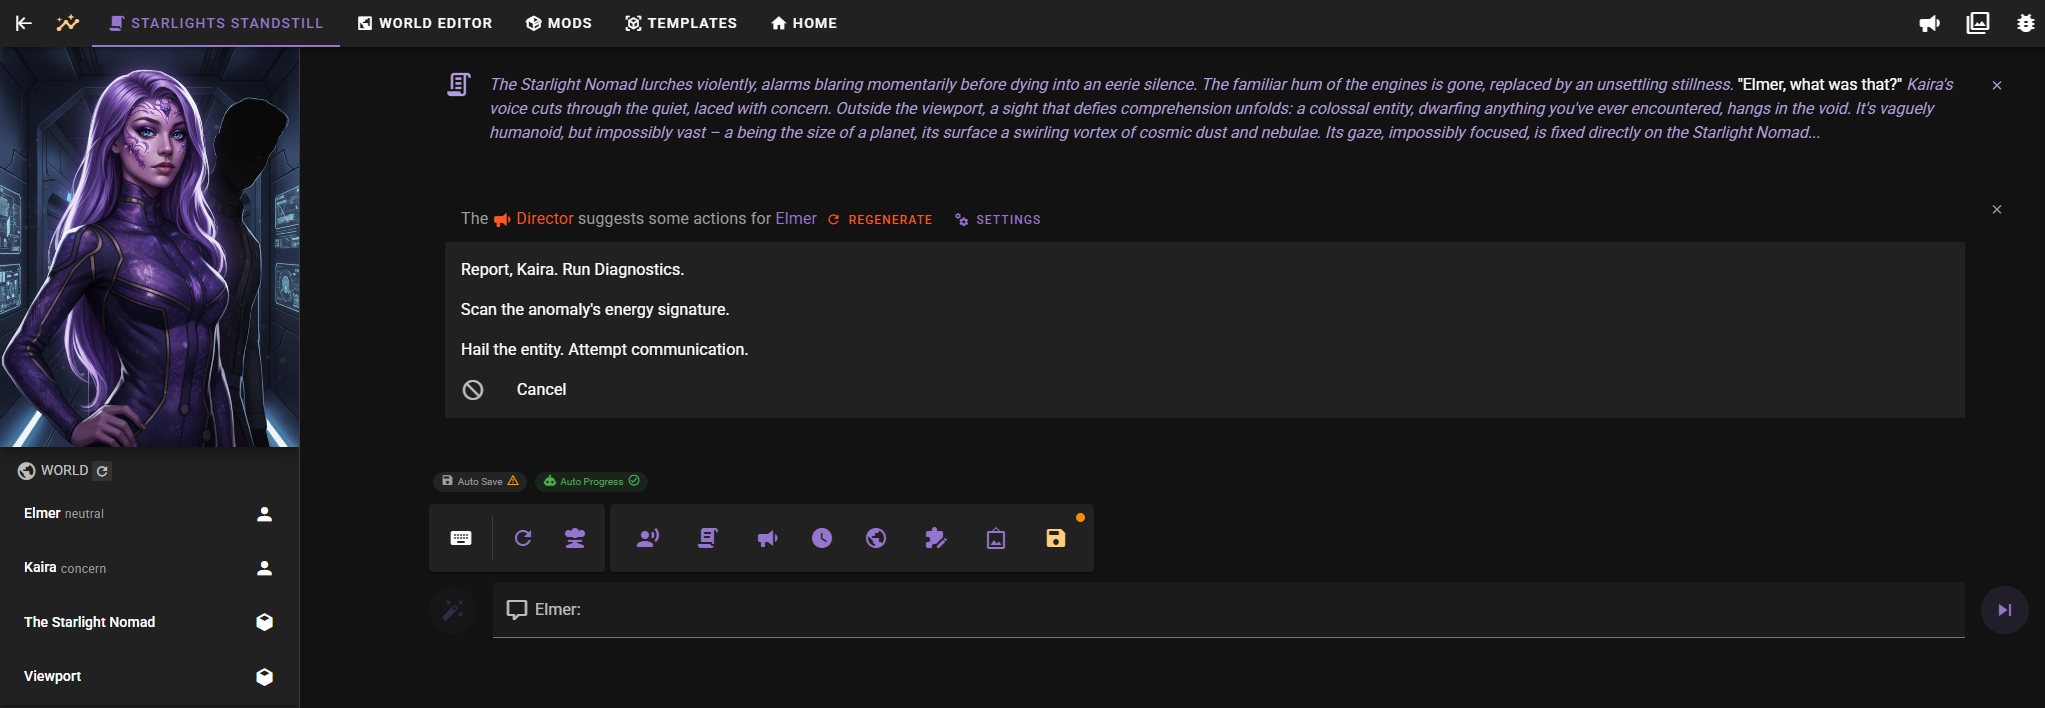
Episodes are alternative introductions that can be used to start new scenes. They are shared across all scenes in the project.
Managing Episodes
The Episodes section allows you to view and manage your episodes.
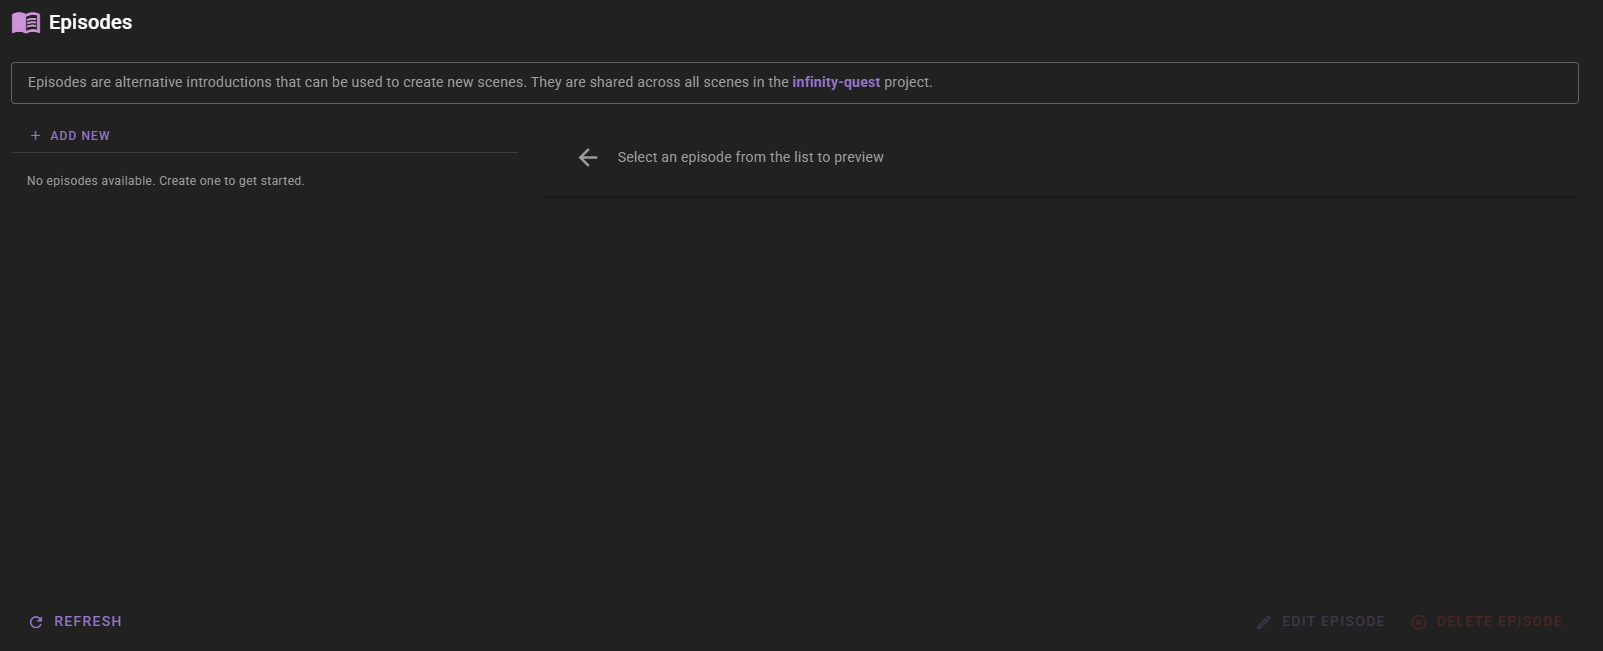
- Add New: Click the "Add New" button to create a new episode.
- Edit: Click the edit icon next to an episode to modify it.
- Delete: Click the delete icon to remove an episode.
Creating an Episode
- Click the Add New button.
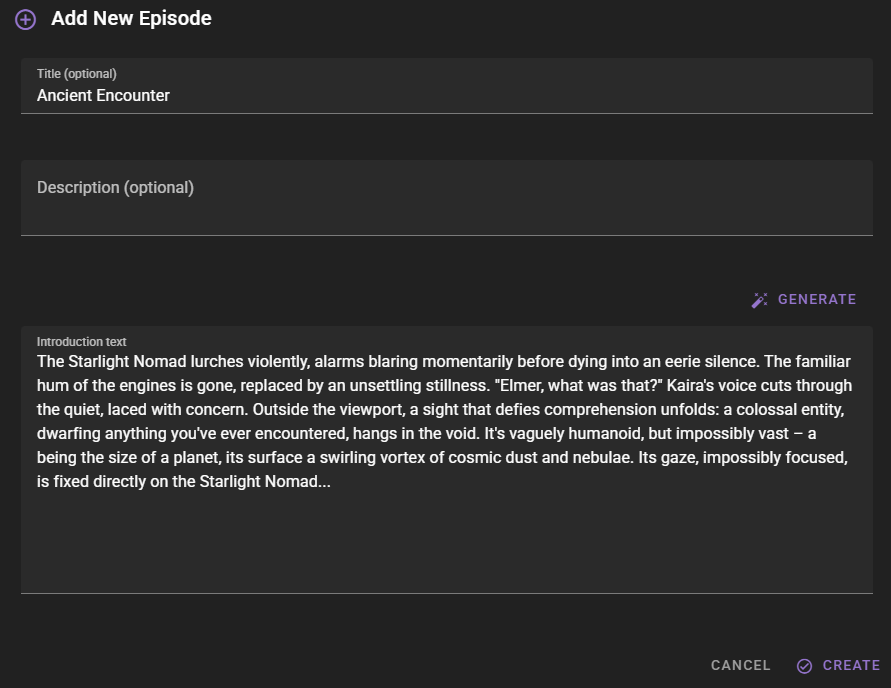
-
Provide a Title, Description, and Introduction for the episode.
-
Title: A name for the episode.
- Description: A short description of what happens in the episode.
- Introduction: The actual text that will start the scene.
- Click Save.
Creating a Scene from an Episode
You can use an episode to start a new scene:
- Select an episode from the list by clicking on it.

- The selected episode will appear as a chip at the top of the panel.
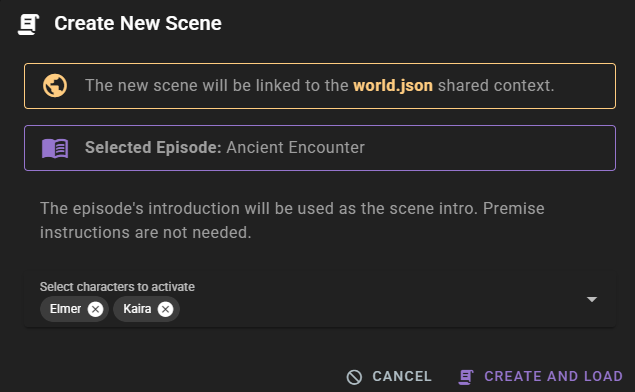
- Click the New Scene button.
- The dialog will show the selected episode. Note that you do not need to provide premise instructions, as the episode's introduction will be used.
- Select any additional characters to activate (characters mentioned in the intro are auto-detected).
- Click Create and load.
Marking Elements as Shared
Once a scene is linked to a shared context, you can mark specific elements to be shared across all scenes using that context.
Sharing Characters
- Navigate to World Editor Characters
- Select a character from the list
- At the bottom of the character editor, check the Shared to World Context checkbox
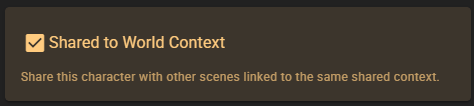
When shared, the character card will highlight in orange/amber to indicate its shared status.
Sharing Individual Attributes and Details
Once a character is marked as shared, you can control which specific attributes and details are shared:
For Attributes:
- Open the character and go to the Attributes tab
- Select an attribute from the list
- Click
 to add it to the shared context
 - Shared attributes are marked with a icon in the list
- Click
 to remove it from sharing
For Details:
- Open the character and go to the Details tab
- Select a detail from the list
- Click to add it to the shared context
- Shared details are marked with a icon in the list
- Click to remove it from sharing
This allows you to selectively share only relevant character information across scenes while keeping other aspects scene-specific.
Sharing World Entries
- Navigate to World Editor World
- Select or create a world entry
- Check the Shared to World Context checkbox in the entry editor

Shared world entries appear with an orange/amber highlight. These entries contain locations, lore, and world-building information that will be accessible across all linked scenes.
Sharing History
- Navigate to World Editor History
- If the sidebar isn't visible, click the icon in the upper left to open it
- Under Shared world context, check Share static history
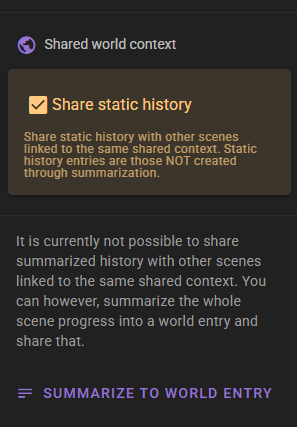
Static History Only
Only static history entries (manually created base entries) can be shared. Summarized history layers cannot be shared directly.
Sharing Summarized Content
To share summarized scene progression, use the Summarize to World Entry button in the History tools menu. This creates a world entry from your scene's progress that can then be marked as shared.
What Gets Shared
- Characters - Complete character definitions, personalities, attributes, and details
- World Entries - Locations, lore, and world-building information
- Static History - Manually created history entries (not summarized layers)
These elements remain synchronized across all scenes linked to the same shared context.